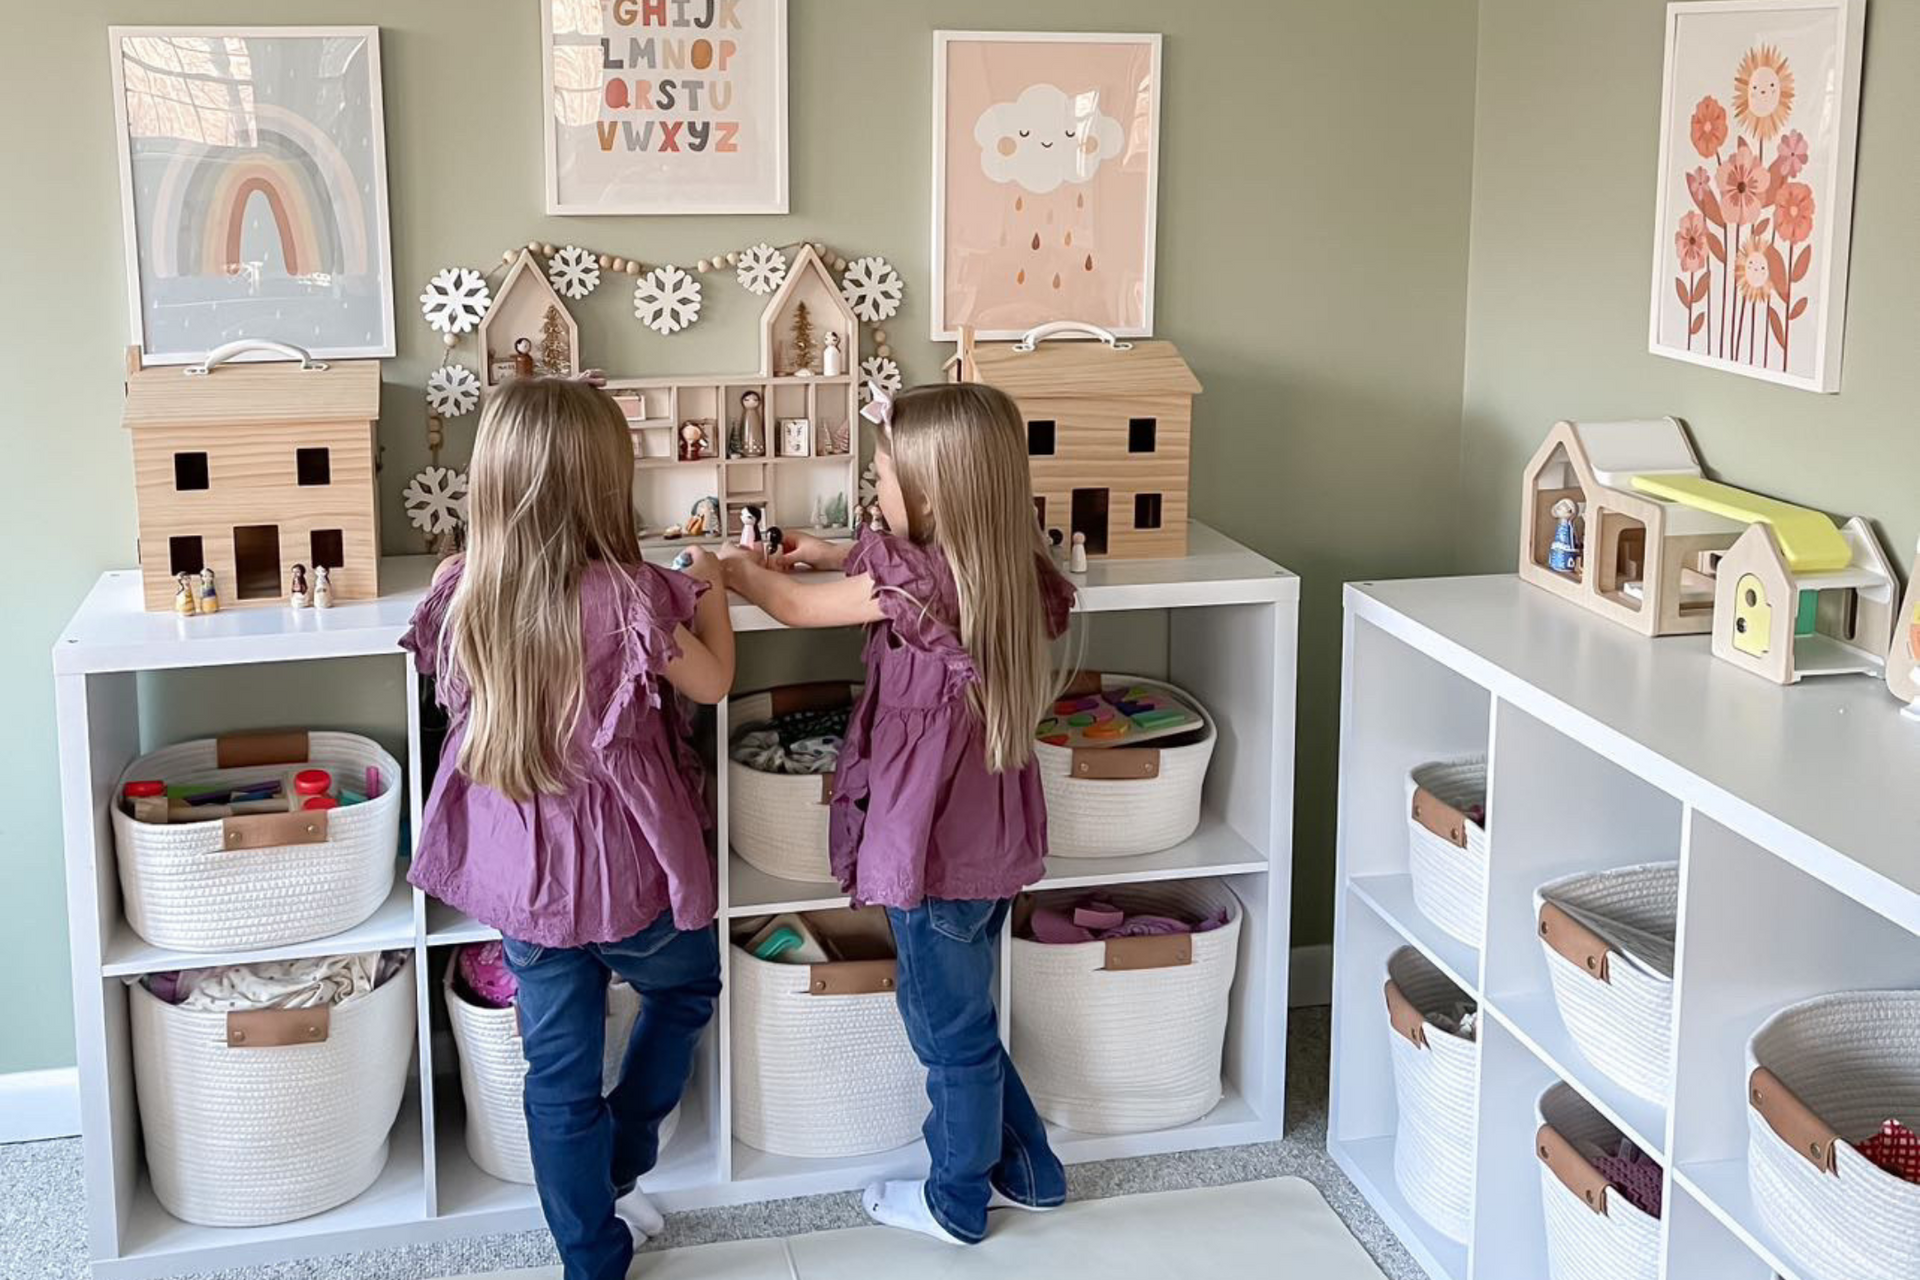
Are your kids’ toys taking over every corner of your home? You’re not alone.
Finding the perfect way to store all those blocks, dolls, and cars can feel overwhelming. But what if you could create a simple, stylish, and affordable toy organizer yourself? With a few easy steps and some creativity, you can turn clutter into calm.
Keep reading, because these DIY toy organizer ideas will not only save you space but also bring a touch of fun and order to your family room. You’ll wonder why you didn’t start sooner!
Credit: www.idealhome.co.uk
Benefits Of Diy Toy Organizers
DIY toy organizers offer more than just a way to tidy up play areas. They bring real benefits that affect your wallet, your child’s habits, and how well the storage fits your unique space. Understanding these advantages can help you decide why building your own organizer might be the best choice.
Cost Savings
Buying ready-made toy organizers can be expensive, especially if you want something sturdy and spacious. Creating your own allows you to use affordable materials or even repurpose items you already have at home.
Imagine turning old crates or cardboard boxes into colorful storage bins. This not only saves money but also reduces waste. How much could you save by choosing materials from your local hardware store or thrift shop instead of a big retail brand?
Customization Options
With DIY organizers, you decide the size, shape, and design. This means you can tailor the storage to match your room’s layout perfectly.
You can add labels, choose colors your kids love, or create compartments for different kinds of toys. Think about how much easier it is for your child to find and put away toys when everything has a clear place. What features would make organizing easier in your home?
Encouraging Kids’ Responsibility
Involving your kids in making their toy organizer can teach them valuable lessons about responsibility. When they help build and decorate their storage, they feel more ownership over keeping their space tidy.
It’s a simple way to encourage them to clean up after playtime without constant reminders. Have you noticed how children treat things differently when they are part of the creation process?
Materials For Toy Organizers
Choosing the right materials is key for a durable and practical toy organizer. Different materials offer unique benefits. Some are sturdy, while others are lightweight and easy to move.
Consider the space and type of toys when selecting materials. Safety and ease of cleaning also matter a lot. Here are common materials used for DIY toy organizers.
Wood And Plywood
Wood and plywood provide strong support for heavy toys. They last long and can be painted or stained. You can customize sizes and shapes easily. Wood adds a classic look to any room. Smooth edges keep kids safe from splinters. Assembly requires basic tools and some skill. Maintenance involves occasional cleaning and polishing.
Plastic Bins And Crates
Plastic bins and crates are lightweight and affordable. They come in many colors and sizes. These containers are easy to clean with soap and water. Transparent bins help spot toys quickly. Stackable crates save space and keep things neat. Plastic is water-resistant, preventing damage from spills. Ideal for quick storage and organizing small toys.
Fabric And Mesh
Fabric and mesh organizers are soft and flexible. They fold flat when not in use, saving space. Breathable mesh prevents moisture buildup inside. Fabric bins often have handles for easy carrying. Perfect for storing stuffed animals and clothes. Washing is simple with many machine-washable options. These organizers add a cozy, casual feel to rooms.
Creative Storage Ideas
Creative storage ideas make toy organization fun and simple. These ideas help keep toys neat while saving space. They also encourage kids to put toys away themselves. Use different storage options to fit your room and toys. Choose what matches your style and needs.
Stackable Bin Systems
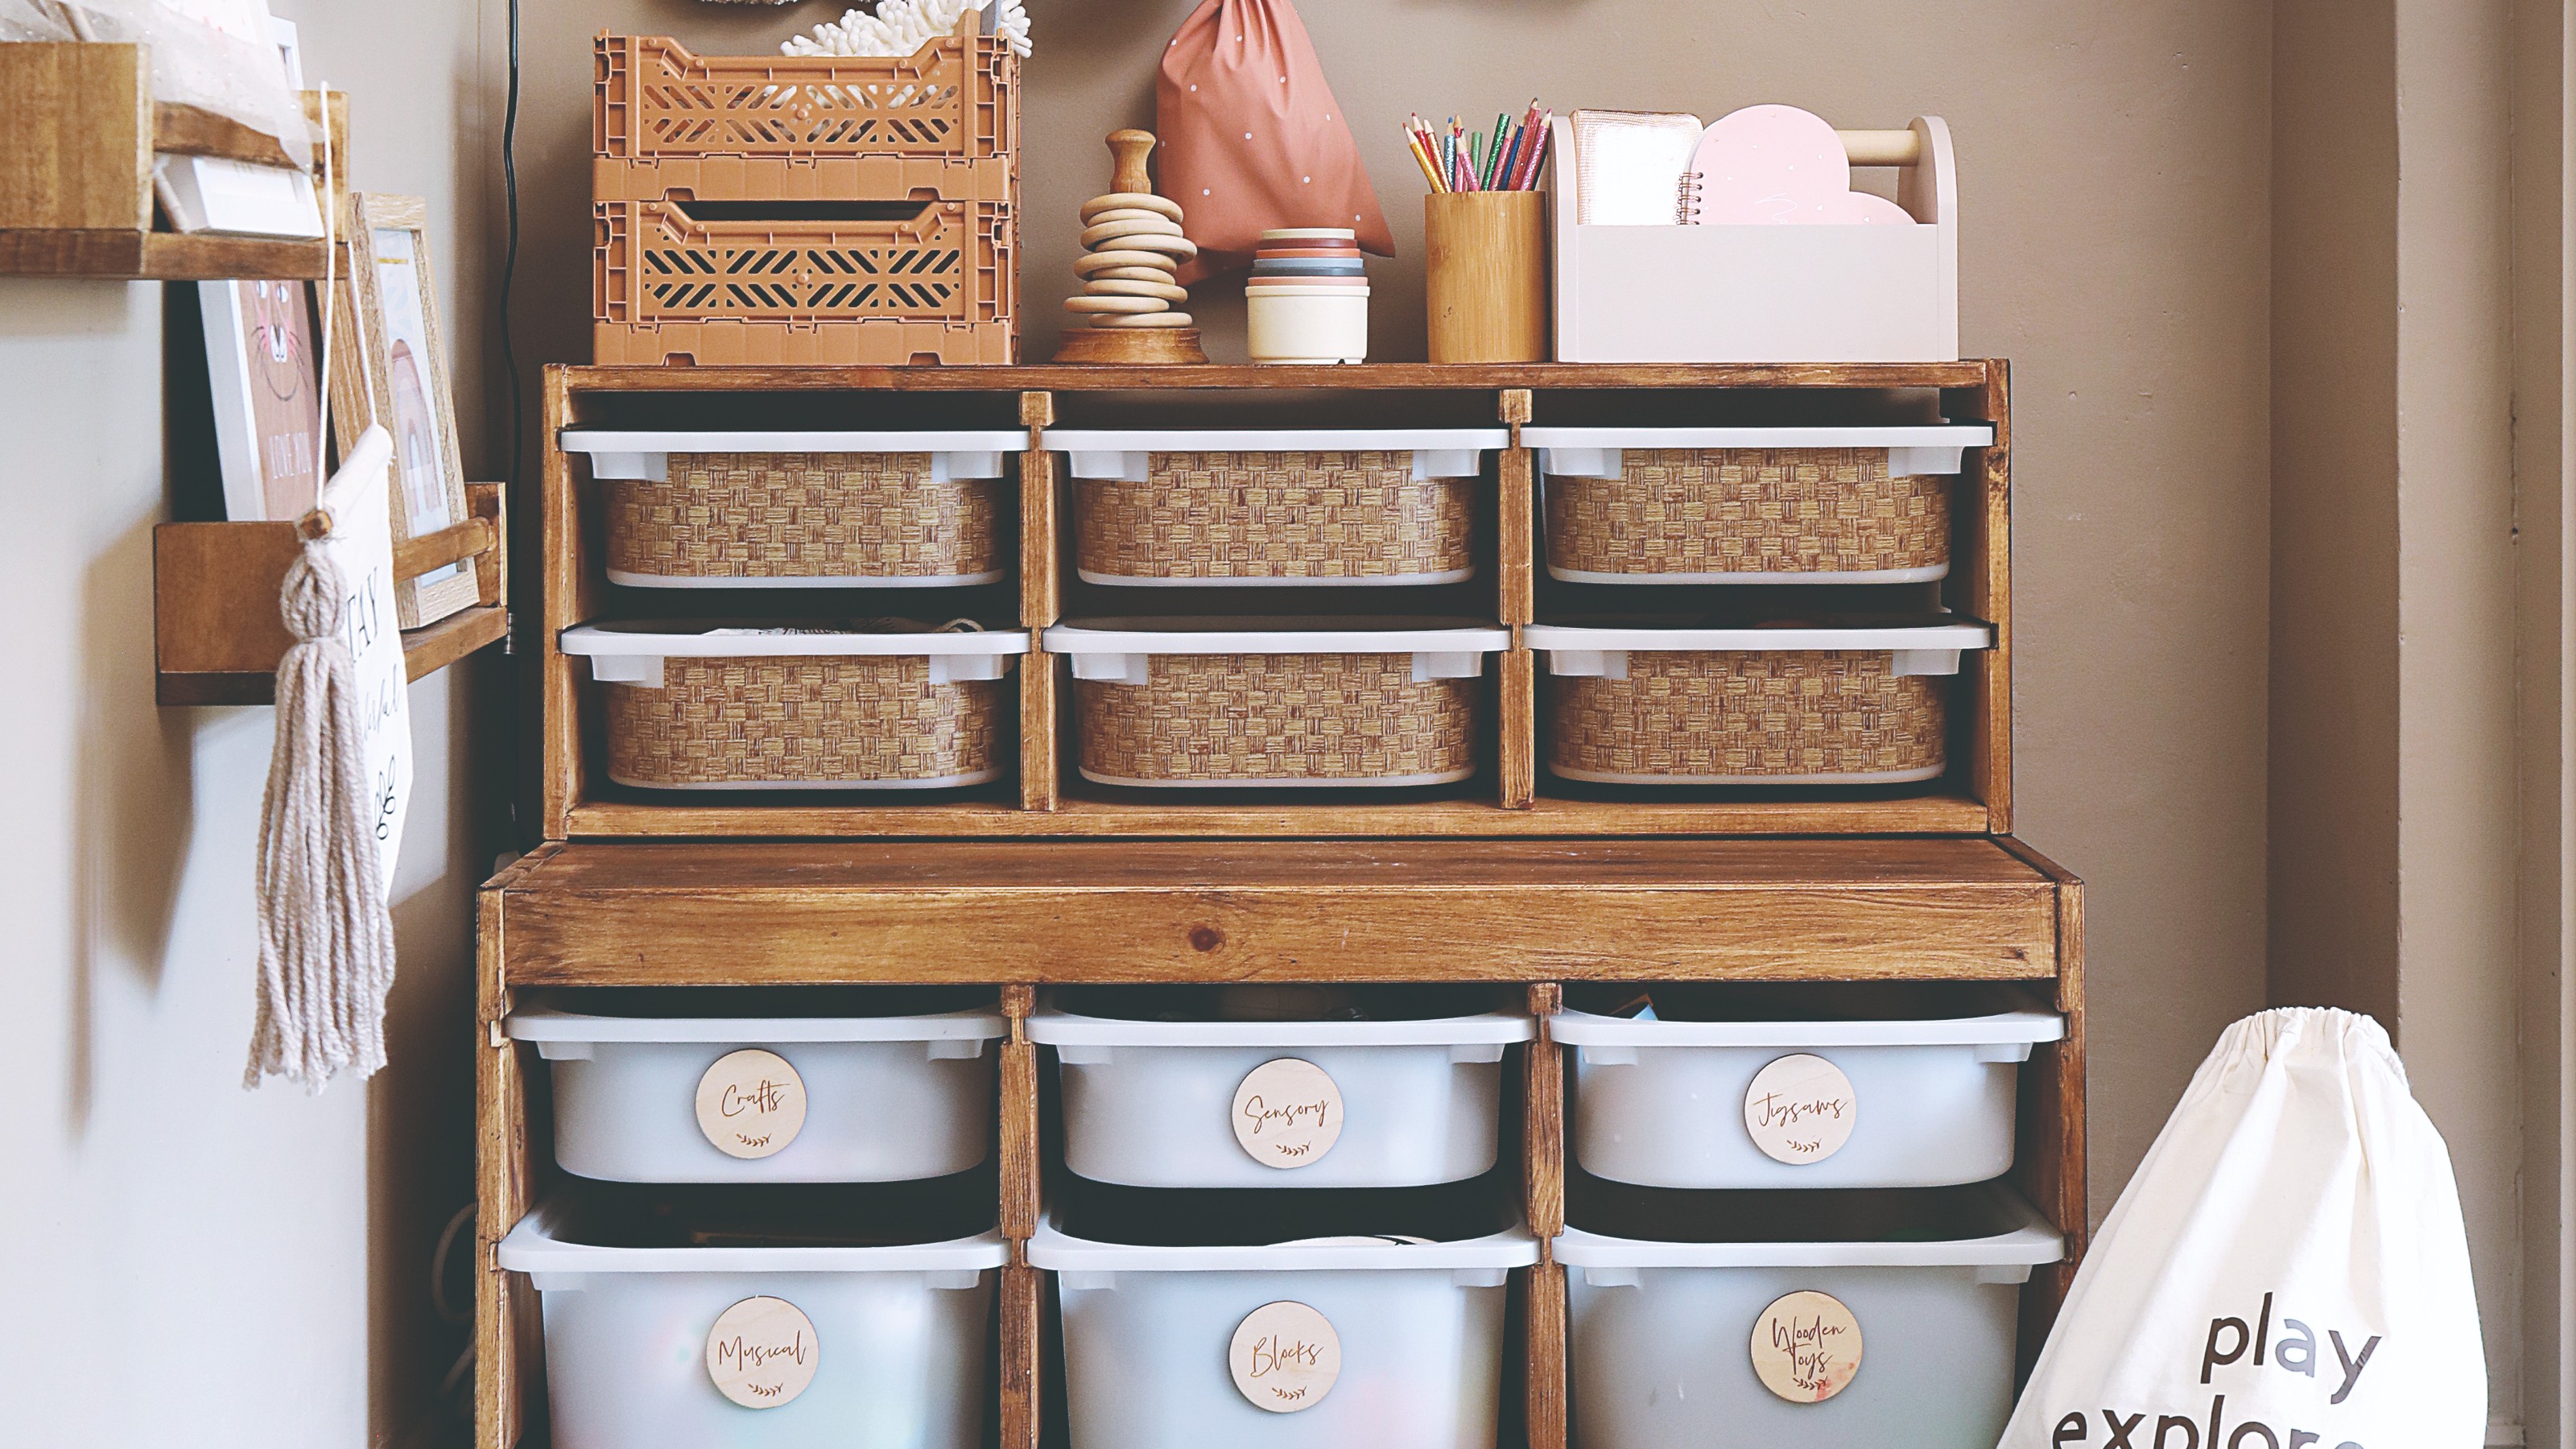
Stackable bins offer flexible storage for many toys. Use clear bins to see contents easily. Label bins with pictures or words for quick sorting. Stack bins vertically to save floor space. This system grows with your toy collection over time.
Hanging Storage Solutions
Hanging storage uses wall or door space smartly. Use mesh bags or hanging pockets for small toys. Hooks and hanging baskets keep items off the floor. This frees up room and adds a fun look. It also makes toys easy to reach for kids.
Repurposed Furniture
Turn old furniture into toy storage for a unique touch. Use an old bookshelf for toy bins or baskets. Convert a bench into storage with hidden compartments. Paint or decorate furniture to match the room theme. This saves money and adds charm to your space.
Wall-mounted Organizers
Wall-mounted organizers keep toys visible and accessible. Use pegboards with hooks to hang toys and art supplies. Install shelves for books, puzzles, and games. Wall organizers keep the floor clear and toys tidy. They create a stylish and practical storage area.

Credit: www.familyhandyman.com
Step-by-step Diy Projects
Creating your own toy organizer can be fun and practical. It helps keep toys tidy and teaches kids about organizing. With easy-to-follow steps, these projects become enjoyable family activities. Let’s dive into some simple DIY ideas!
Simple Wooden Box Organizer
A wooden box organizer is classic and sturdy. Start with a few wooden planks. Assemble them into a box shape using nails or screws. Sand the edges to avoid splinters. Paint or stain the wood to match your room decor. Add dividers inside for better organization. This project is simple and gives a rustic charm to any playroom.
Colorful Fabric Toy Baskets
Fabric baskets add color and texture to a room. Choose bright fabrics that your child loves. Cut the fabric into pieces and sew them into basket shapes. Use thick fabric for durability. Add handles for easy carrying. These baskets are lightweight and perfect for small toys or plushies. Plus, they can be folded when not in use.
Pvc Pipe Sorting Station
PVC pipes make a fun and modern organizer. Cut the pipes into equal lengths. Arrange them in a pattern you like. Use a strong adhesive to hold them together. Mount the structure on a wall or place it on a shelf. This sorting station is great for storing toy cars, action figures, or art supplies. Its unique look adds a playful touch to any space.
Space-saving Tips
Saving space is a key challenge when organizing toys, especially in smaller rooms. Smart storage solutions can make your space feel larger and keep toys accessible. The right tips help you organize without cluttering.
Utilizing Vertical Space
Think about the walls. Adding shelves or hanging organizers uses empty vertical areas effectively.
I once added a set of floating shelves above a play table. It freed up floor space and kept favorite toys within reach.
Use wall-mounted baskets or pegboards to hang small toys or craft supplies. This keeps surfaces clear and toys visible.
Under-bed Storage Hacks
Don’t overlook the space under the bed. It’s perfect for storing toys that aren’t used daily.
Slide-out bins or shallow drawers work great here. Clear bins help you see what’s inside without pulling everything out.
Consider labeling containers or using color-coded bins to make cleanup faster. Wouldn’t it be easier if your kids could grab and put away toys themselves?
Multi-functional Furniture
Furniture with built-in storage saves space and adds function.
A bench with toy bins underneath or a coffee table with hidden compartments can hide clutter while serving everyday needs.
Look for pieces that match your room style but also offer clever storage options. This way, your space feels organized and stylish at the same time.

Credit: www.ikea.com
Maintaining Toy Organization
Keeping your toy organizer neat over time can be challenging. Toys tend to multiply and scatter quickly, turning any well-planned system into chaos. However, with consistent habits and smart strategies, maintaining order becomes easier and less time-consuming.
Regular Decluttering
Set aside time every few weeks to go through the toys. Remove broken, unused, or outgrown items to free up space. This prevents clutter from building up and makes the organizer more functional.
Ask yourself: Are all these toys still played with? If not, consider donating or storing them elsewhere. This small habit keeps the toy area manageable and enjoyable.
Labeling Systems
Labels make a huge difference in helping everyone know where things belong. Use clear words, pictures, or color codes based on your child’s age and reading ability.
Labels reduce confusion and speed up cleanups. I once saw a family use bright stickers for toy categories, which cut cleanup time in half because kids knew exactly where to put each item.
Involving Kids In Cleanup
Make tidying up a shared responsibility by involving your children. Turn cleanup into a fun game or set a timer to motivate them.
Kids learn to care for their belongings and develop organization skills. Have you tried asking your kids to pick their favorite toys to keep and let go of the rest? It can be surprisingly effective.
Frequently Asked Questions
What Are Easy Diy Toy Organizer Ideas For Beginners?
Start with simple storage bins or shelves. Use labeled containers for quick sorting. Repurpose household items like baskets or crates. These ideas save space and keep toys tidy. Beginners can customize colors and labels for a personal touch.
How Can I Make A Budget-friendly Toy Organizer?
Use recycled materials like old boxes or crates. Paint and decorate them for a fresh look. DIY fabric bins are inexpensive and durable. Repurpose shoe organizers for small toys. Budget-friendly options keep costs low and encourage creativity.
What Materials Work Best For Diy Toy Organizers?
Wood, plastic bins, fabric, and cardboard work well. Wood is sturdy and customizable. Plastic bins are lightweight and easy to clean. Fabric baskets are flexible and portable. Choose materials based on durability and room style.
How Do I Organize Toys By Size Or Type?
Sort toys into categories like blocks, dolls, or cars. Use clear bins for visibility. Label each container with pictures or words. Arrange larger toys on lower shelves for safety. This method simplifies cleanup and retrieval.
Conclusion
Creating a DIY toy organizer saves space and time. Kids learn to tidy up their toys. Materials are easy to find and use. You can customize the design to fit your room. These projects bring fun and order together. Start small and add more as you go.
Enjoy a cleaner, happier play area today!


