Have you ever wanted to create your own soft, cuddly plush toys that feel special because you made them yourself? Imagine holding a toy that’s not only cute but also filled with your personal touch.
Making DIY plush toys is easier than you think, and it’s a fun way to express your creativity. Whether you want a unique gift or a cozy companion, this guide will show you simple steps to bring your plush toy ideas to life.
Ready to turn fabric and stuffing into something magical? Keep reading, and let’s get started!
Materials Needed
Gathering the right materials is the foundation of making your own plush toys. Each choice, from fabric to stuffing, shapes the final look and feel of your creation. Getting these essentials right will save you time and frustration, making your DIY project a lot more enjoyable.
Choosing Fabric
Pick fabric that feels soft and durable. Fleece, minky, and felt are popular because they’re easy to sew and gentle to touch. Think about the toy’s purpose—will it be a cuddly friend or a decorative piece? Cotton blends are great for detailed patterns, while plush fabrics create that classic squishy feel.
Have you tried mixing fabrics? Combining different textures can add a unique touch to your toy. Just make sure all fabrics are washable, especially if the toy is for kids.
Selecting Stuffing
Your stuffing affects how fluffy and huggable the toy will be. Polyester fiberfill is widely used because it’s light and holds shape well. If you want a firmer plush, consider foam beads or even scrap fabric bits.
Think about safety too. Hypoallergenic stuffing is best if the toy is for children or those with allergies. How much stuffing you use also changes the toy’s personality—soft and squishy or firm and structured?
Essential Tools
Having the right tools makes sewing smoother and faster. You’ll need sharp fabric scissors, pins, and a sewing needle or sewing machine. A fabric marker helps trace your pattern clearly without damaging the material.
Don’t forget a ruler or measuring tape for accuracy. Sometimes, a small pair of embroidery scissors is handy for trimming tight spots. What tools do you find indispensable when crafting?
Basic Sewing Techniques
Basic sewing techniques form the foundation for making DIY plush toys. Knowing these skills helps create neat and strong seams. It also makes the crafting process more enjoyable and less frustrating.
Practice simple stitches first. They are easy to learn and great for beginners. Using a sewing machine speeds up the work and gives consistent results. Hand sewing offers control, especially for small details and finishing touches.
Simple Stitches
Simple stitches hold fabric pieces together securely. The running stitch is the easiest. It goes in and out of the fabric in a straight line. The backstitch is stronger and works well on seams that need extra strength. The whipstitch helps close edges neatly, perfect for stuffing openings.
- Running stitch:Quick and good for basic seams.
- Backstitch:Durable and great for stress points.
- Whipstitch:Ideal for closing plush toy openings.
Using A Sewing Machine
A sewing machine speeds up the plush toy making process. It creates even stitches that look professional. Choose a small stitch length for soft toys to keep seams tight. Use polyester thread for strength and flexibility. Always test on scrap fabric before sewing your toy parts.
- Set stitch length to about 2.0 mm for plush toys.
- Use a sharp needle designed for fabric like universal or ballpoint.
- Sew slowly around curves to keep stitches neat.
Hand Sewing Tips
Hand sewing gives you control on small or curved areas. Use a sharp, thin needle and strong thread. Knot the thread securely before starting. Keep stitches small and even to avoid gaps. Rest your hands often to prevent fatigue. Use a thimble to push the needle if needed.
- Thread length should be manageable, about 18 inches.
- Pull thread gently to avoid puckering the fabric.
- Finish seams with a knot hidden inside the plush toy.
Designing Your Plush Toy
Designing your plush toy is the heart of the DIY process. This is where your imagination takes shape and personality breathes life into fabric and stuffing. Thoughtful design makes your toy unique and meaningful, so spend time refining your ideas before cutting any material.
Sketching Ideas
Start by sketching your plush toy on paper. Draw different poses and angles to understand its form better. Don’t worry about perfection—rough sketches help you explore various shapes and features quickly.
Ask yourself what emotions or character traits you want your plush to express. Is it cute, funny, scary, or cuddly? These answers guide the details you add, like eyes, mouth, and limbs.
Creating Patterns
Once your sketch feels right, turn it into patterns. Patterns are templates for cutting fabric accurately. You can make patterns by tracing your sketch onto cardboard or thick paper.
Break the design into simple shapes—circles for heads, rectangles for arms, etc. This makes sewing easier and helps avoid mistakes. Test your pattern pieces by cutting scrap fabric and pinning them together before using your final material.
Picking Colors
Choose colors that fit the personality of your plush toy. Bright colors can make it lively, while soft pastels give a gentle, calming vibe. Consider how colors will look once sewn together—sometimes smaller details like eyes or accessories need contrasting colors to stand out.
Think about your fabric options—cotton, fleece, or felt each give a different texture and feel. Have you ever noticed how a simple color change can totally transform a character’s mood? Experiment with swatches before deciding.
Cutting And Preparing Fabric
Choose soft fabric and smooth scissors for clean cuts. Lay the pattern flat and pin it to the fabric before cutting carefully. Ensure all pieces are trimmed neatly for easy sewing.
Cutting and preparing fabric is a crucial step in creating your own DIY plush toys. This stage sets the foundation for your entire project, ensuring each piece fits together perfectly. A little patience and precision here will save you a lot of hassle later.Tracing Patterns
Begin by selecting a pattern for your plush toy. You can find plenty of free patterns online or create your own. Lay your fabric flat on a clean surface. Place your pattern on top and use a fabric pen or tailor’s chalk to trace around it. Ensure you hold the pattern steady to avoid any distortion. Remember, a well-traced pattern means a well-shaped toy.Cutting Accurately
With your pattern traced, it’s time to cut the fabric. Use sharp fabric scissors to ensure clean edges. Cut slowly and follow the lines precisely. Avoid rushing, as a small mistake can affect the toy’s final shape. Consider using a rotary cutter for straight lines, especially if you’re working with thicker fabric.Marking Sewing Lines
After cutting, mark your sewing lines. This step is often overlooked but can significantly improve your sewing accuracy. Use a ruler to ensure straight lines and mark them lightly. These lines guide your stitching, keeping seams even. Think of these marks as a roadmap, leading you to a professional-looking plush toy. Have you ever noticed how the smallest details can make the biggest difference in a project? By taking the time to trace, cut, and mark carefully, you’re setting yourself up for a plush toy that’s not only adorable but also well-crafted.Assembling The Plush Toy
Assembling the plush toy is the key part of making your DIY creation come to life. It involves putting all the fabric pieces together carefully. This step shapes the toy and prepares it for stuffing and decorating. Patience and neat stitching make the final product look great and last longer.
Sewing Pieces Together
Start by aligning the fabric pieces with their right sides facing each other. Use pins to hold them in place. Sew along the edges using a straight stitch or backstitch for strength. Keep the stitches close and even to avoid gaps. Leave a small gap unsewn for stuffing later.
Leaving Openings For Stuffing
Choose a spot that is easy to access, usually along a side seam. Make sure the opening is wide enough for your hand or stuffing tool. This gap will allow you to fill the toy with stuffing material. After stuffing, this opening will be closed with a hidden stitch to keep the toy neat.
Attaching Features
Sew on the eyes, nose, and other details carefully. Use embroidery thread or small buttons for safety. Attach features before stuffing if they lie flat on the surface. For 3D parts, like ears or tails, sew them after stuffing. Make sure all parts are secure to avoid any falling off.

Credit: www.youtube.com
Stuffing And Shaping
Stuffing and shaping are key steps in making DIY plush toys. The right stuffing gives your toy its feel and form. Shaping creates the character and charm. Both affect the final look and cuddly softness.
Choosing Stuffing Density
Pick stuffing based on how firm or soft you want the toy. Firmer stuffing keeps shape better and lasts longer. Softer stuffing feels cuddly and squishy but may lose shape quickly.
Polyester fiberfill is common and easy to use. Cotton or wool stuffing feels natural but can be heavier. Foam pieces add bulk but may be less flexible.
- Light stuffing for soft, floppy toys
- Medium stuffing for balanced firmness
- Dense stuffing for firm, sturdy toys
Filling Techniques
Fill small amounts at a time to avoid lumps. Push stuffing into corners and tight spaces with a pencil or chopstick.
Distribute stuffing evenly for smooth shape. Overstuffing can stretch seams and distort shape. Understuffing makes the toy floppy and weak.
Use gentle pressure while filling. Stop often to check shape and feel. Adjust stuffing to match your vision.
Shaping Tips
Shape the toy as you fill by molding with your hands. Pinch and push areas to create curves or flat spots.
For arms and legs, stuff firmly at the base and softer at the tips. This helps movement and realistic look.
Leave openings to add or remove stuffing later. This allows fixing shape after sewing.
Finishing Touches
The finishing touches bring your DIY plush toy to life. They make your creation look neat and complete. Careful finishing shows your effort and skill. These final steps improve durability and charm. Focus on closing seams, adding details, and choosing embellishments. Each step shapes the toy’s personality and strength.
Closing Seams
Close seams carefully to keep stuffing inside. Use small, tight stitches for a clean look. A ladder stitch works well for invisible seams. Knot thread securely to avoid unraveling. Trim extra thread close to knots. Press seams gently if fabric allows. This step ensures the plush toy holds its shape.
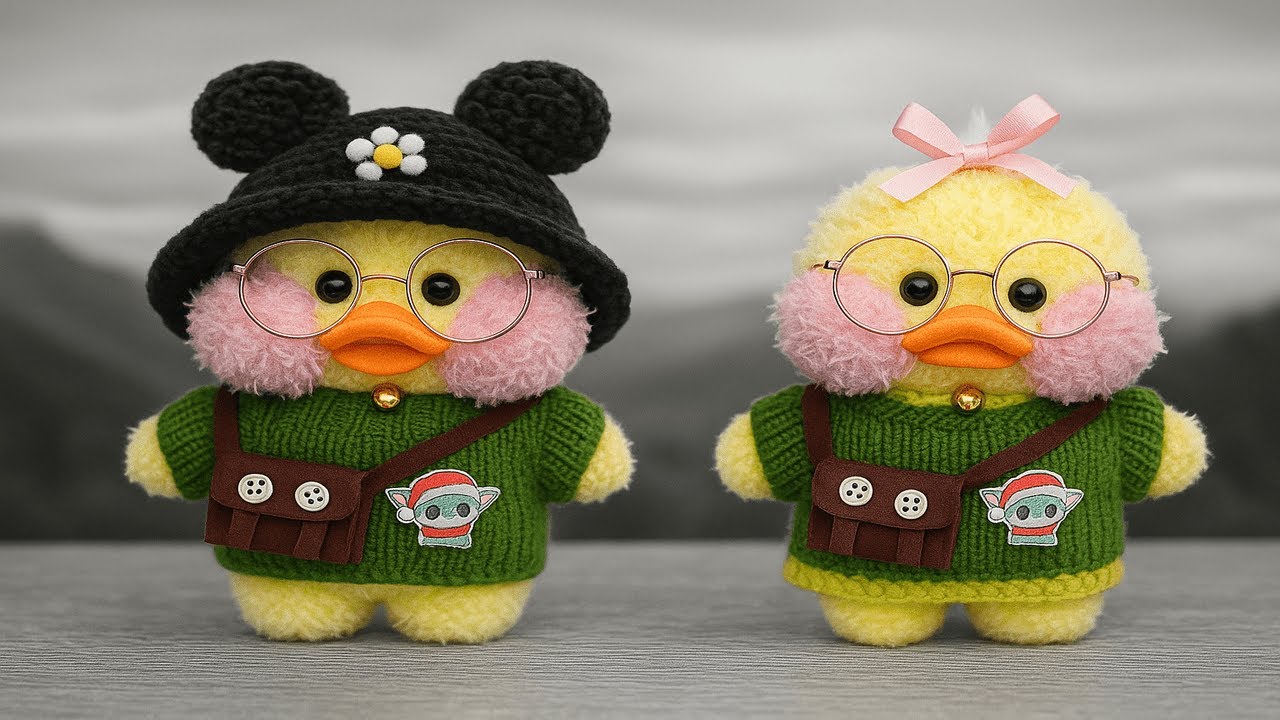
Adding Details
Details give your plush toy character. Sew or glue eyes, nose, and mouth with care. Use buttons, felt, or embroidery thread for facial features. Create patterns or markings with fabric paint or markers. Add small accessories like scarves or hats. Details make your toy unique and fun to touch.
Embellishments Ideas
- Attach ribbons or bows for a cute touch.
- Sew tiny pockets or patches for extra charm.
- Use sequins or beads sparingly for sparkle.
- Try soft fabric flowers or felt shapes.
- Add small bells or charms for sound effects.
Choose embellishments that match your toy’s style. Keep safety in mind, especially for children. These final additions make your plush toy special and inviting.

Credit: www.kojo-designs.com
Care And Maintenance
Taking care of your DIY plush toys ensures they stay soft, vibrant, and full of character for years to come. Proper maintenance not only preserves their look but also extends their life, making your handmade treasures even more special. Let’s look at some easy ways to keep your plush toys clean, fix any damage, and store them safely.
Cleaning Tips
Cleaning your plush toys regularly keeps them fresh and cozy. Spot clean small stains with a damp cloth and mild soap to avoid soaking the stuffing. For a deeper clean, use a gentle cycle in the washing machine inside a pillowcase or laundry bag to protect delicate parts.
Always air dry your plush toys instead of using a dryer. Heat can damage the fabric or cause stuffing to clump. Have you noticed how a quick hand wash can revive the softness without risking damage?
Repairing Tears
Tears happen, especially if your plush toy gets lots of love. Fix small rips quickly with a needle and thread to prevent further damage. Use stitches that match the fabric color for a neat look.
If you find a hole where stuffing is coming out, gently push the stuffing back inside before sewing it closed. Don’t worry if your stitching isn’t perfect—your plush’s charm comes from its handmade nature. How often do you check for loose seams on your toys?
Storage Suggestions
Storing your plush toys properly prevents dust buildup and keeps them looking new. Keep them in a dry, cool place away from direct sunlight to avoid fading. Using breathable storage boxes or fabric bags helps maintain their shape and prevents mildew.
Avoid squishing your plush toys under heavy items to protect their softness. You might try displaying some favorites on shelves while keeping others safely tucked away. What’s your favorite way to keep your plush collection both safe and visible?
Creative Variations
Creative variations help make each DIY plush toy unique and fun. Experiment with different fabrics, shapes, and colors to bring your ideas to life. Small changes can turn simple designs into charming toys kids will love.
Creating your own DIY plush toys is a delightful journey, where creativity knows no bounds. The joy of crafting these cuddly companions is not just in following a pattern, but in making them truly unique. This is where creative variations come into play, allowing you to add personal touches that make each toy special.Adding Accessories
Accessories can transform a simple plush toy into a character full of personality. Imagine a little teddy with a tiny bow tie or a stuffed bunny sporting a cute hat. These small details can be sewn on or even attached with Velcro for a removable option. Consider using buttons, ribbons, or even small fabric scraps to create accessories. Each addition tells a story, making your plush toy more than just a soft companion. What would your plush toy wear if it were heading to a picnic or a party?Personalizing Designs
Personalizing your plush toys adds a touch of magic that is uniquely yours. Names, initials, or even small messages can be embroidered onto the fabric. This can be a fun way to gift someone a plush toy that feels tailor-made just for them. Think about the recipient’s favorite colors or themes. Maybe your friend loves sea creatures—how about a plush octopus with a quirky grin? Personal touches make plush toys memorable keepsakes.Using Different Fabrics
The choice of fabric can dramatically change the look and feel of your plush toy. Experimenting with different textures, like using fleece for a soft, cuddly feel or denim for a more rugged look, can be exciting. Each fabric brings its own charm and character to the toy. Mix and match materials to create contrasts and add visual interest. Perhaps a plush elephant with velvet ears or a dinosaur with a jersey knit body? The possibilities are endless, and each choice makes your plush toy a one-of-a-kind masterpiece. As you embark on your plush toy-making adventure, remember that creativity is your best tool. Let your imagination run wild and watch as simple materials transform into beloved treasures. What will your next plush creation look like?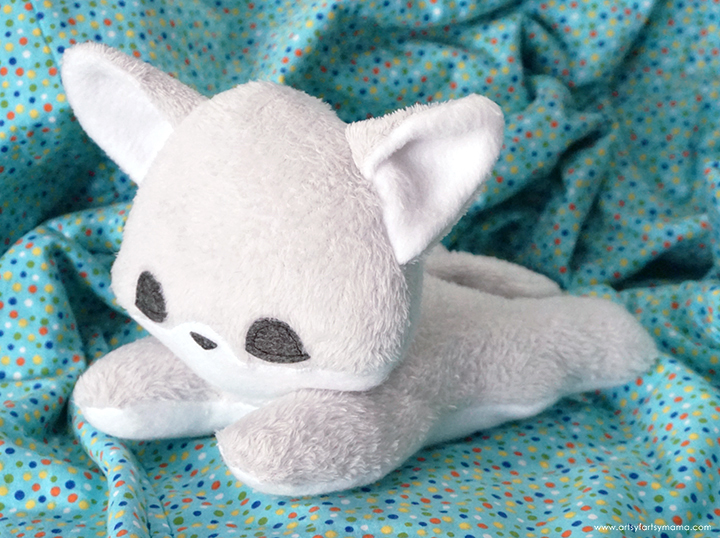
Credit: www.artsyfartsymama.com
Frequently Asked Questions
What Materials Are Needed For Diy Plush Toys?
You need fabric, stuffing, thread, needle, scissors, and patterns. Soft fabrics like fleece or felt work best. These materials are affordable and easy to handle, making them perfect for beginners and experts alike.
How Do I Choose The Right Fabric For Plush Toys?
Select soft, durable fabrics like fleece, felt, or minky. These materials are safe and comfortable for children. Avoid stiff or rough fabrics to ensure a cuddly, high-quality plush toy.
What Are Simple Steps To Sew A Plush Toy?
Cut fabric pieces, sew edges inside out, stuff, then close. Use a needle and thread or sewing machine for neat seams. This basic method creates durable and adorable plush toys quickly.
Can I Customize My Diy Plush Toys Easily?
Yes, customize with different fabrics, shapes, colors, and decorations. Add buttons, embroidery, or fabric paint for unique designs. Personalization makes your plush toys special and perfect for gifts.
Conclusion
Making DIY plush toys brings joy and creativity together. You can choose your favorite fabrics and shapes. Each toy becomes special and unique. Sewing and stuffing help build your skills step by step. Kids and adults enjoy playing with handmade toys.
Keep practicing, and your designs will improve. Start small, then try more detailed projects. Handmade plush toys make great gifts and keepsakes. Enjoy the process and have fun creating!