Are you ready to give your little one’s toys a cozy new spot? Hanging a DIY toy hammock is a simple and fun way to keep your space tidy while adding a playful touch to your room.
You don’t need to be an expert or spend a lot of money—just a few easy steps and the right tools. By the end of this guide, you’ll know exactly how to hang a toy hammock that looks great and holds all your child’s favorite toys.
Let’s get started and make organizing fun and effortless!
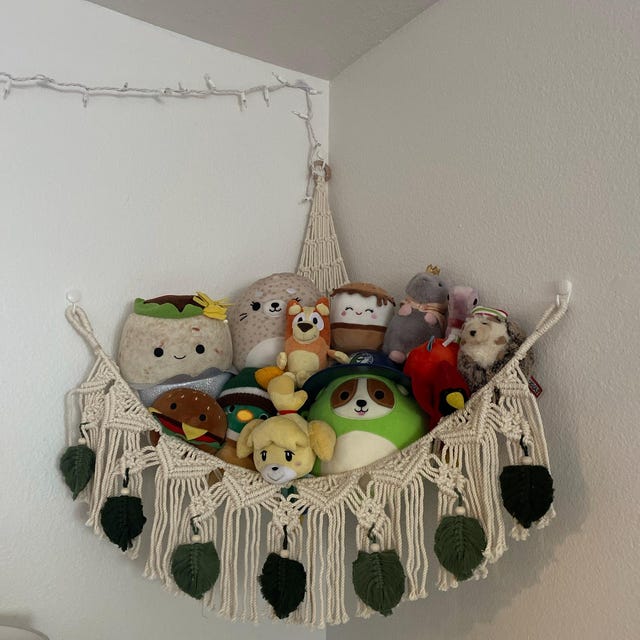
Credit: www.temu.com
Choosing The Right Spot
Choosing the right spot for your DIY toy hammock is key to a safe and fun setup. The location affects how well the hammock fits and how secure it feels. Consider the space available, the strength of walls or ceilings, and whether the spot is indoors or outdoors. Each factor helps create a perfect resting place for toys.
Indoor Vs Outdoor Options
Decide if the hammock will hang inside or outside. Indoor spots protect toys from weather and dirt. They also offer a controlled environment free from strong winds. Outdoor spots give more room and fresh air but may expose toys to sun and rain. Choose a spot that matches how you plan to use the hammock.
Measuring Available Space
Measure the area where you want to hang the hammock. Check the width and height to ensure the hammock fits comfortably. Leave extra space around for easy access and movement. Note the distance between walls or ceiling beams to pick the right hanging points. Accurate measuring avoids surprises during installation.
Checking Wall And Ceiling Strength
Test the strength of walls or ceilings before hanging the hammock. Use a stud finder to locate solid beams or studs. Avoid drywall or weak surfaces that cannot support weight. If unsure, consult a professional or use heavy-duty anchors. Strong support prevents accidents and keeps the hammock secure.
Gathering Materials
Gathering the right materials is the first step to create a safe and comfortable toy hammock. Choosing quality supplies ensures durability and ease of use. Prepare everything before you start to make the process smooth and enjoyable.
Selecting Fabric And Rope
Choose a fabric that is strong and soft. Cotton or canvas works well for comfort and durability. Pick colors or patterns that match your child’s toys or room.
Select a sturdy rope that can hold weight safely. Nylon or polyester ropes are excellent for strength. Measure the length needed to hang the hammock securely.
Required Tools
- Scissors for cutting fabric and rope
- Measuring tape for accurate sizing
- Sewing needle and thread or a sewing machine
- Drill or screwdriver for mounting hooks
- Hooks or eye bolts to attach the hammock
Safety Gear Essentials
- Gloves to protect your hands when handling rope
- Safety goggles to shield eyes during drilling
- Mask to avoid inhaling fabric fibers or dust
- Step ladder for reaching high spots safely
Preparing The Hammock
Preparing your DIY toy hammock properly sets the foundation for a sturdy and cozy final product. Every choice you make now affects how well the hammock holds up and how much your toys will enjoy lounging in it. Let’s break down the essential steps to get your hammock ready for hanging.
Cutting And Sewing Fabric
Start by selecting a durable yet soft fabric that can handle the weight of your toys. Measure and cut the fabric into a square or rectangle, depending on your preferred hammock shape. Precision matters here—uneven cuts can cause weak spots or an unbalanced hammock.
Sew strong hems around all edges to prevent fraying. Double stitch for extra strength, especially at the corners where the most tension will be. If you’ve never sewn before, think of this as creating a secure frame for your hammock—skip the details, and the whole thing risks falling apart.
Attaching Support Ropes
Next, attach ropes to the four corners of your fabric. Choose ropes that are thick enough to support weight but flexible enough to knot easily. Secure the ropes with tight knots or loops sewn directly into the fabric corners.
Test the knots by pulling firmly to make sure they won’t slip. Your hammock’s safety depends on these connections holding strong. Ask yourself: would you trust this knot if your favorite toy was relying on it?
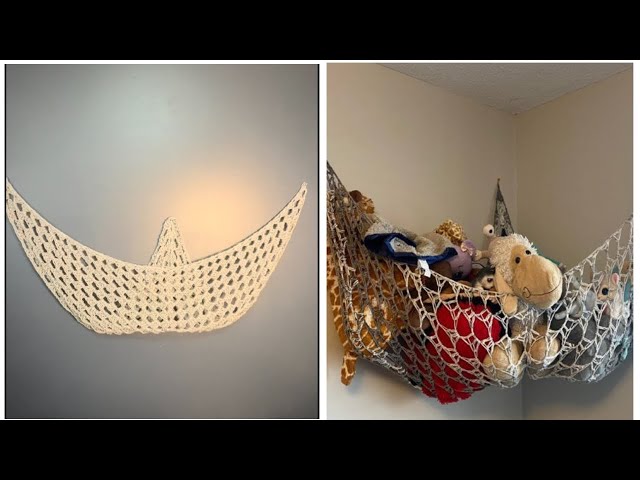
Adding Comfort Features
Think about adding extra padding or small pillows to make the hammock more inviting for your toys. You can sew pockets on the fabric corners or sides to tuck in soft cushions or even a small blanket. This little touch can transform a simple hammock into a cozy retreat.
Consider using colorful or patterned fabric for added visual appeal. Comfort isn’t just about softness—it’s also about creating a playful and attractive space that makes your toys want to stay longer. What fun details can you add to make your hammock truly unique?
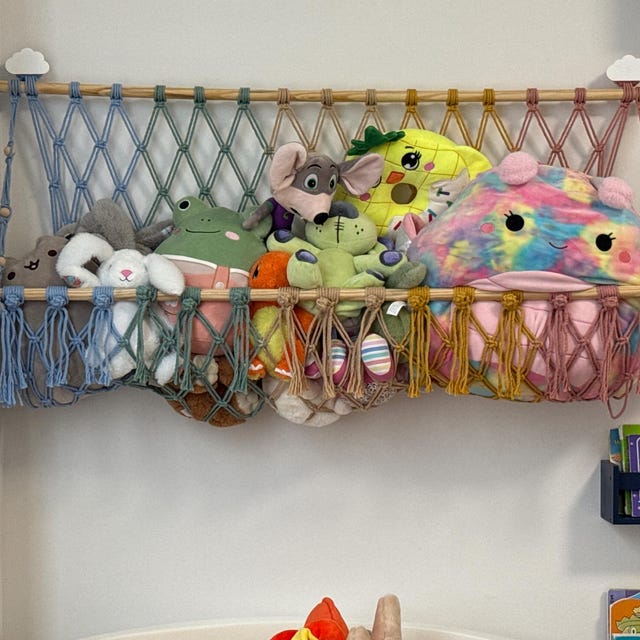
Credit: www.etsy.com
Mounting The Hooks
Choose sturdy walls or beams to secure hooks for your DIY toy hammock. Drill pilot holes first to ensure strong support and prevent damage. Tighten hooks firmly, making sure they align for balanced hanging.
Mounting the hooks securely is a crucial step when setting up your DIY toy hammock. You want to ensure that your hammock can hold the weight of the toys without any risk of falling. It’s not just about safety but also about peace of mind, knowing that everything is firmly in place.Marking Anchor Points
Begin by deciding where you want to hang your toy hammock. Consider the wall space and how high you want the hammock to be. Use a pencil to mark the spots on the wall where the hooks will go. Make sure the marks are level by using a measuring tape or a laser level. This small step can save you from a lopsided hammock. Remember, accurate markings mean less hassle later.Drilling And Installing Hooks
With your anchor points marked, it’s time to drill. Choose a drill bit that matches the size of your anchors or screws. Carefully drill into the wall at each marked point. Insert wall anchors if you’re drilling into drywall for added stability. Then, screw in your hooks tightly. Ensure they’re flush against the wall, offering maximum support for the hammock.Testing Hook Stability
Before loading up the hammock, test the hooks. Gently tug at each hook to check for any movement. They should remain firm and unmoving. If you notice any wobble, it might be necessary to tighten the hooks or add additional support. Your toys deserve a safe and secure resting place, and so do you. Wouldn’t you feel more confident knowing everything is double-checked?Hanging The Hammock
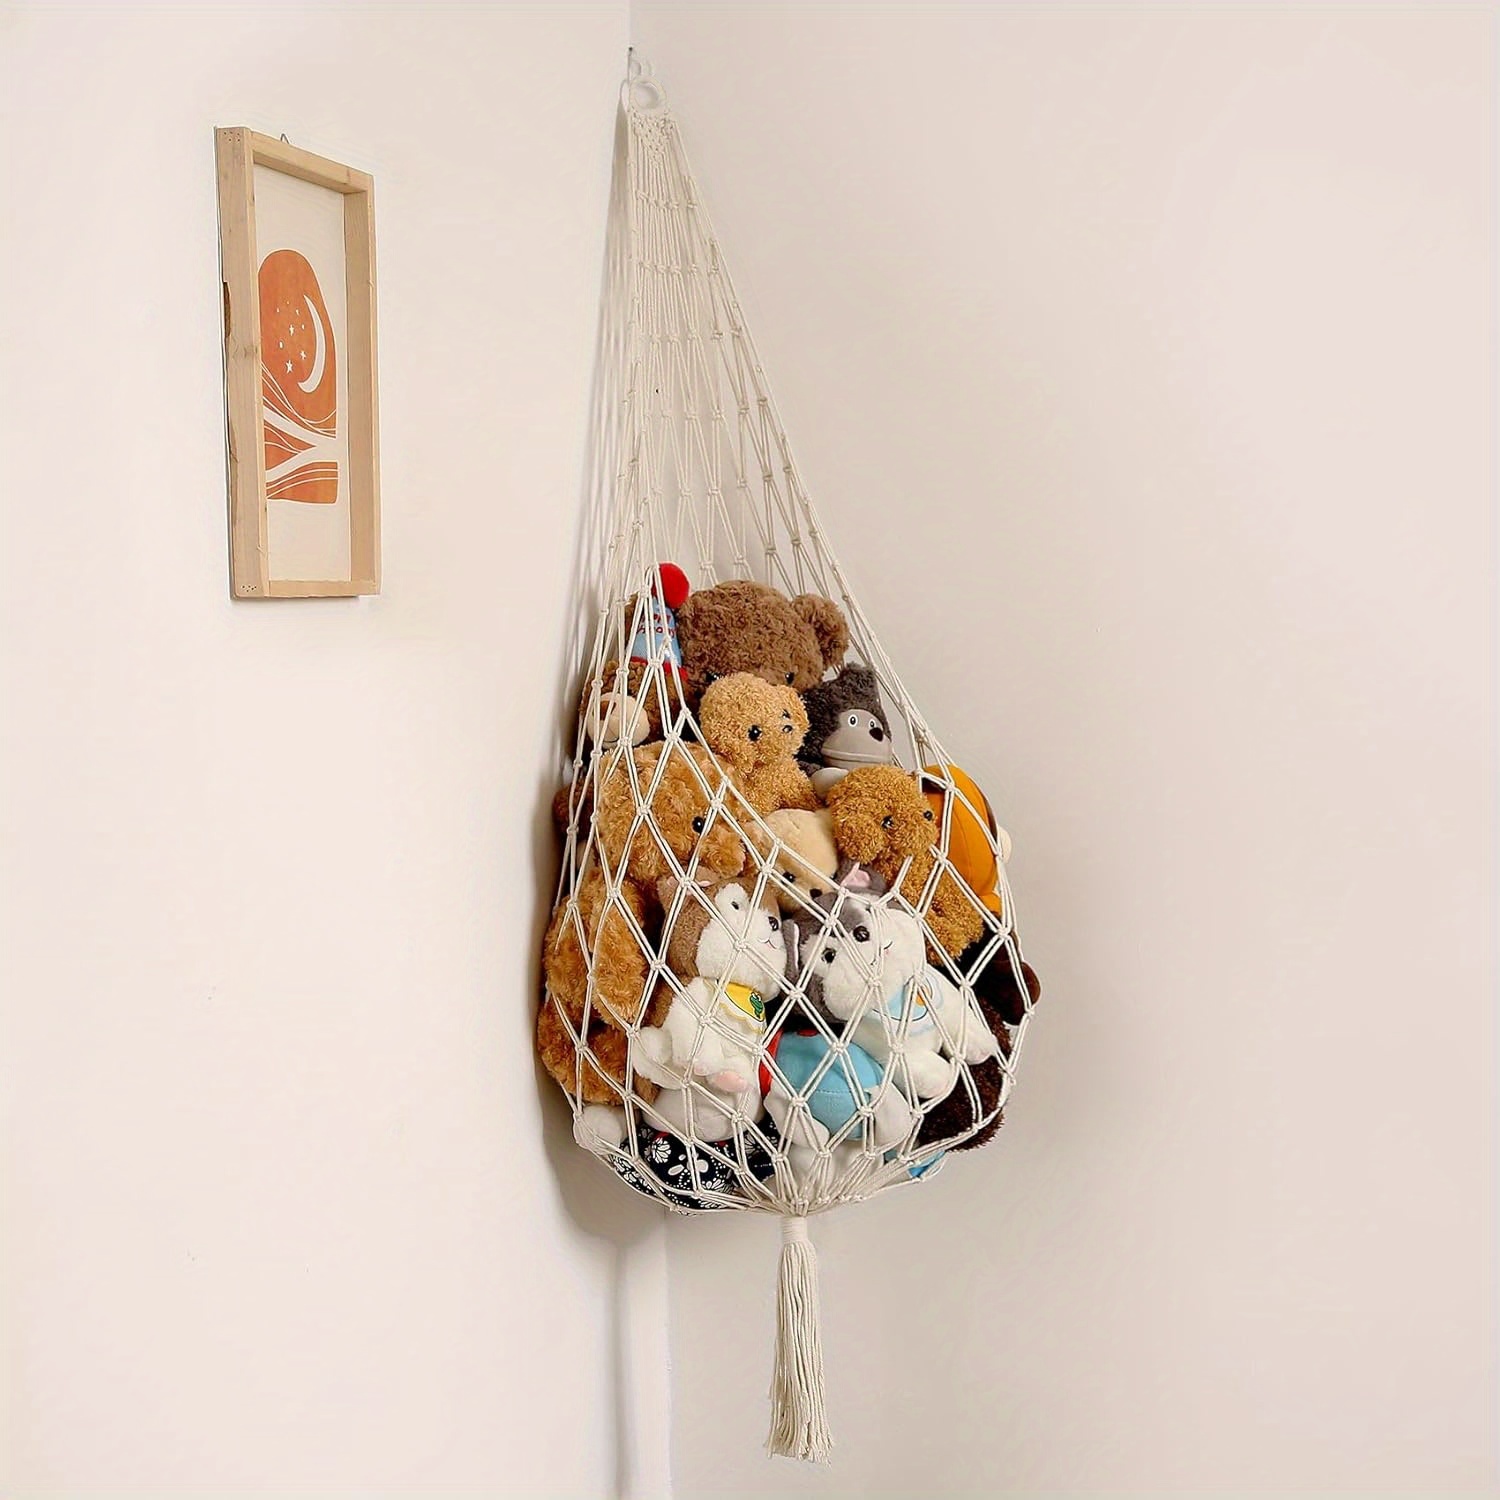
Hanging your DIY toy hammock correctly is key to making it safe and enjoyable for your little ones. This part requires a bit of patience and attention to detail, but the result is well worth the effort. You’ll want to make sure every attachment point is secure and that the hammock hangs just right for comfort and safety.
Securing The Hammock To Hooks
Start by choosing strong hooks that can hold the weight of the toys and any additional pressure from play. Screw the hooks firmly into sturdy surfaces, such as wall studs or solid wood beams, to avoid any accidents.
Attach the hammock’s loops or ropes directly onto the hooks. If your hammock has metal rings or carabiners, clip them securely. Make sure there’s no slack in the connection that could cause slipping.
Adjusting Height And Tension
Next, check the height of the hammock. It should be low enough so toys don’t fall far if they slip out, but high enough to keep them off the floor and away from dirt. Adjust the ropes or straps to find the perfect balance.
Tension is equally important. The hammock should be taut enough to hold the toys firmly but still have a gentle curve for easy access. Too tight, and it might strain the fabric; too loose, and the toys could fall out.
Final Safety Check
Before letting your child play, give the hammock a thorough safety check. Tug on the hammock to test the strength of the hooks and attachments. Look for any signs of wear or weak points in the fabric or ropes.
Ask yourself: Would I feel safe putting my child’s favorite toy in here? If you hesitate, tighten or reinforce the setup. Safety always comes first, and a little extra caution goes a long way.
Credit: www.etsy.com
Maintenance Tips
Keeping your DIY toy hammock in good shape helps it last longer and stay safe. Regular care prevents damage and keeps the hammock clean. Follow these maintenance tips to enjoy your hammock every day.
Cleaning The Hammock
Remove toys and dust from the hammock often. Use a soft brush or cloth for dirt. Wash the fabric gently with mild soap and warm water. Rinse well to avoid soap residue. Let it air dry completely before use. Avoid harsh chemicals or machine washing to protect fabric and colors.
Inspecting For Wear And Tear
Check ropes, knots, and fabric regularly. Look for frays, loose threads, or weak spots. Test the strength by gently pulling on all parts. Replace damaged parts immediately to avoid accidents. Tighten any loose knots or fasteners. Regular inspection ensures safety and durability.
Storage Suggestions
Store the hammock in a dry place when not in use. Avoid damp or humid areas that can cause mold. Fold it neatly without sharp creases. Use a breathable bag or container to protect from dust. Keep it away from direct sunlight to prevent fading. Proper storage keeps the hammock fresh and ready to use.
Frequently Asked Questions
How Do I Choose The Best Spot To Hang A Diy Toy Hammock?
Pick a sturdy area with strong walls or ceiling hooks. Ensure enough space for the hammock to hang freely. Avoid high-traffic zones to prevent accidents and provide easy access for kids to reach their toys safely.
What Tools Are Needed To Hang A Diy Toy Hammock?
You’ll need a drill, screws, wall anchors, measuring tape, and a pencil. Optional tools include a stud finder to locate strong support points. These tools ensure secure and safe installation of the toy hammock.
How High Should I Hang A Toy Hammock?
Hang the toy hammock 3 to 4 feet off the ground. This height is safe and reachable for most children. Adjust based on your child’s age and room size to keep toys accessible yet out of the way.
Can I Hang A Toy Hammock Without Wall Studs?
Yes, use heavy-duty wall anchors or toggle bolts for drywall. These provide strong support when studs aren’t available. Always check weight limits to prevent hammock from falling and keep toys secure.
Conclusion
Hanging a DIY toy hammock brings fun and comfort to any play space. The steps are simple and quick to follow. Choose the right spot, measure carefully, and secure the hammock well. Use strong hooks and ropes to keep it safe.
Kids will love having a cozy spot for their toys. This project adds charm and helps organize toys too. Enjoy your new hammock and the smiles it brings!