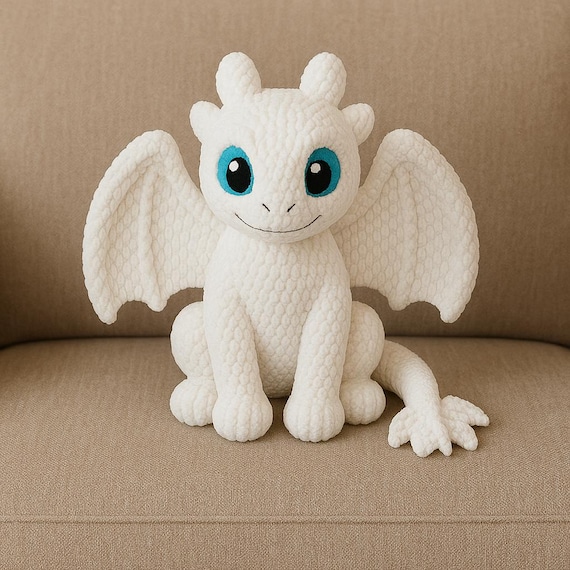
Do you love the magical world of How to Train Your Dragon? Imagine bringing your favorite dragons to life with your own hands.
Creating DIY plush toys isn’t just fun—it’s a way to make something truly special that you can hold, hug, and treasure forever. In this guide, you’ll discover simple steps to craft your very own dragon plush, even if you’ve never sewn before.
Ready to turn your creativity into a cuddly companion? Keep reading, and let’s make your dragon dreams come true!
Materials Needed
Creating your own How to Train Your Dragon plush toy is fun and rewarding. Gathering the right materials is essential before you start. The right fabric, sewing tools, and stuffing make your plush soft and durable. This section covers everything needed to bring your dragon to life.
Fabric Choices
Choose fabric that feels soft and is easy to sew. Fleece, minky, and felt are popular options. Fleece is warm and stretchable. Minky fabric is smooth and plush. Felt is sturdy and holds shape well. Pick colors that match your dragon’s design. Black, brown, green, or white often work well.
Sewing Supplies
You need basic sewing tools to create neat stitches. Use sharp fabric scissors to cut pieces precisely. A sewing needle or sewing machine helps stitch parts together. Thread should match your fabric color. Pins hold pieces before sewing. A fabric marker or chalk helps trace patterns clearly.
Stuffing And Accessories
Stuff your plush with soft polyester fiberfill for a cuddly feel. Avoid heavy stuffing to keep the toy light. Use small plastic eyes or safety eyes for realistic dragon eyes. Embroidery floss can add details like nostrils or claws. Optional accessories include small wings or spikes made from extra fabric.

Credit: www.youtube.com
Preparing Your Pattern
Preparing your pattern is an important step in making a How to Train Your Dragon DIY plush toy. A clear pattern helps you cut the fabric accurately. This leads to a neat, well-shaped plush. Take your time to get the pattern right before cutting.
Choosing A Design
Pick a dragon design that fits your skill level. Simple shapes work best for beginners. Look for designs with clear lines and fewer small parts. Print or draw the design on paper. Make sure it fits the size you want your plush to be.
Tracing And Cutting
Place the pattern on your fabric. Use pins or weights to hold it steady. Trace around the edges with a fabric marker or chalk. Cut the fabric carefully along the traced lines. Cut slowly to keep the edges smooth and even. Keep all pieces organized for easy sewing later.
Sewing The Pieces
Sewing the pieces of your How to Train Your Dragon DIY plush toy brings your creation to life. This stage requires patience and care. Each stitch connects parts and shapes the dragon’s body. Follow simple sewing methods for a neat finish and durable toy.
Basic Stitching Techniques
Start with the running stitch for quick seams. It moves in and out of fabric evenly. Use backstitch for strong, tight seams. This stitch overlaps to avoid gaps. Whipstitch works well for closing open edges after stuffing. It loops around the edge to hold pieces firmly.
- Use small, even stitches for a clean look.
- Thread a needle with matching color yarn or thread.
- Keep tension steady to prevent puckering.
Assembling Body Parts
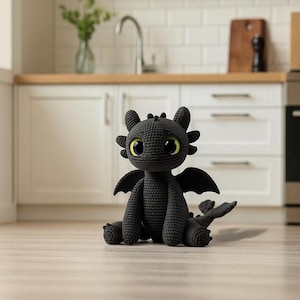
Lay out all fabric pieces before sewing. Match edges carefully for correct shape. Sew smaller parts like wings and ears first. Attach these to the main body after. Pin pieces together to hold them in place. Sew slowly around curves to keep smooth lines.
- Stuff parts lightly before closing seams.
- Use a ladder stitch for invisible seam closure.
- Check symmetry to keep the dragon balanced.
Credit: www.etsy.com
Adding Details
Small stitches and careful sewing bring out the dragon’s features. Use different fabrics and colors to make eyes, scales, and wings stand out. Adding these details makes your plush toy look lively and true to the story.
Adding details to your How to Train Your Dragon DIY plush toys can make a world of difference, turning a simple craft into a masterpiece. It’s the details that bring your dragon to life, capturing its unique personality and charm. This part of the process allows you to add your personal touch, making your creation one-of-a-kind. Embrace your creativity as you work on these critical elements, and remember, there’s no right or wrong way to do it. Have fun, and let your imagination soar.Eyes And Facial Features
The eyes are truly the windows to the soul, even for plush dragons. Choose buttons, felt, or embroidery to create expressive eyes that capture the spirit of your dragon. Experiment with different sizes and colors to find the perfect look. Facial features like eyebrows or a mischievous grin can add character. Use a simple stitch to outline a smile or frown, depending on your dragon’s intended personality. Don’t forget the nostrils; a few well-placed stitches can create a snout that adds depth to your creation.Wings And Tail
The wings and tail are essential for any dragon, and they present a great opportunity to add flair. Consider using fabric with patterns or textures to give your dragon’s wings an interesting look. You might even add wire inside to make them poseable. The tail can be a place to add unique elements like spikes or a tuft of fabric at the end. Use small pieces of felt or fabric sewn onto the tail for an added touch. Remember, these features contribute to your dragon’s silhouette and can make it stand out. Adding these details is more than just decoration; it’s about bringing your dragon to life. What unique touches will you add to your creation?Stuffing And Finishing
Stuffing and finishing your How to Train Your Dragon DIY plush toy is where your creation truly comes to life. The way you fill and close your plush affects not only its shape but also its durability and huggability. Paying close attention to these details ensures your dragon looks fantastic and lasts through many adventures.
Proper Stuffing Methods
Start by choosing the right stuffing material—polyester fiberfill is soft, lightweight, and holds its shape well. Avoid overstuffing; it can stretch seams and make your plush stiff. Instead, add stuffing gradually, pressing it into corners and small areas to give your dragon a smooth, even form.
Use a chopstick or the end of a paintbrush to push stuffing into tight spots like the tail or wings. This technique prevents lumps and helps maintain the plush’s detailed shape. Have you noticed how a well-stuffed plush feels more satisfying to hold? That’s the magic of proper stuffing.
Closing Seams Neatly
Once stuffed, closing seams neatly is crucial for a professional finish. Use a ladder stitch (invisible stitch) to sew the opening closed, hiding your stitches inside the plush. This stitch keeps your work strong without compromising the look.
Take your time with this step. Small, even stitches not only look better but prevent stuffing from escaping. If you’re unsure about your stitching, practice on scrap fabric first—you’ll find it easier than expected. What’s your strategy for keeping seams tight and tidy?
Customizing Your Plush
Customizing your How to Train Your Dragon plush toy brings it to life. It makes your plush unique and special. This section helps you add personality and style to your toy. Small changes create big smiles. Personal choices make the craft fun and meaningful.
Color Variations
Changing colors can make your plush stand out. Use fabric paint or dye for fresh looks. Choose shades that match your favorite dragon or create a new one. Mixing colors adds depth and charm. Try different combinations for wings, body, and tail.
- Use soft pastels for a gentle feel
- Bright colors make your plush eye-catching
- Dark tones add mystery and strength
Experiment with patterns like stripes or spots. This makes your dragon more playful and fun. Color choice reflects your style and mood.
Personal Touches
Adding personal touches brings your dragon to life. Sew on buttons for eyes or add small accessories. Use embroidery to create names or symbols. Attach tiny wings or tails for extra detail. These small ideas make your plush one of a kind.
- Glue felt pieces for different textures
- Sew ribbons or beads for decoration
- Use fabric markers for fine details
Think about your favorite dragon traits to inspire your design. Personal touches show your creativity and care. They turn a simple toy into a treasure.
Care And Maintenance
Taking good care of your How to Train Your Dragon DIY plush toys keeps them looking great and lasting longer. These toys often become cherished companions, so maintaining their softness and appearance is key. A little attention goes a long way in preserving your dragon’s charm and durability.
Cleaning Tips
Keep your plush fresh by gently spot cleaning with a damp cloth and mild soap. Avoid soaking the toy completely unless the instructions say it’s safe, as water can damage the stuffing and fabric.
For deeper cleaning, use a gentle cycle in the washing machine inside a pillowcase or laundry bag. Always air dry your plush toys instead of using a dryer; heat can cause shrinking or fabric damage.
Have you noticed dirt collecting in those tiny crevices? A soft toothbrush can help you reach those tricky spots without harming the fabric.
Repairing Wear And Tear
Small rips or loose seams can be fixed easily with a needle and thread. Choose thread colors that match your dragon to keep repairs invisible.
If a button eye falls off or stuffing escapes, don’t delay repairs. Quick fixes prevent damage from getting worse and save your toy from permanent harm.
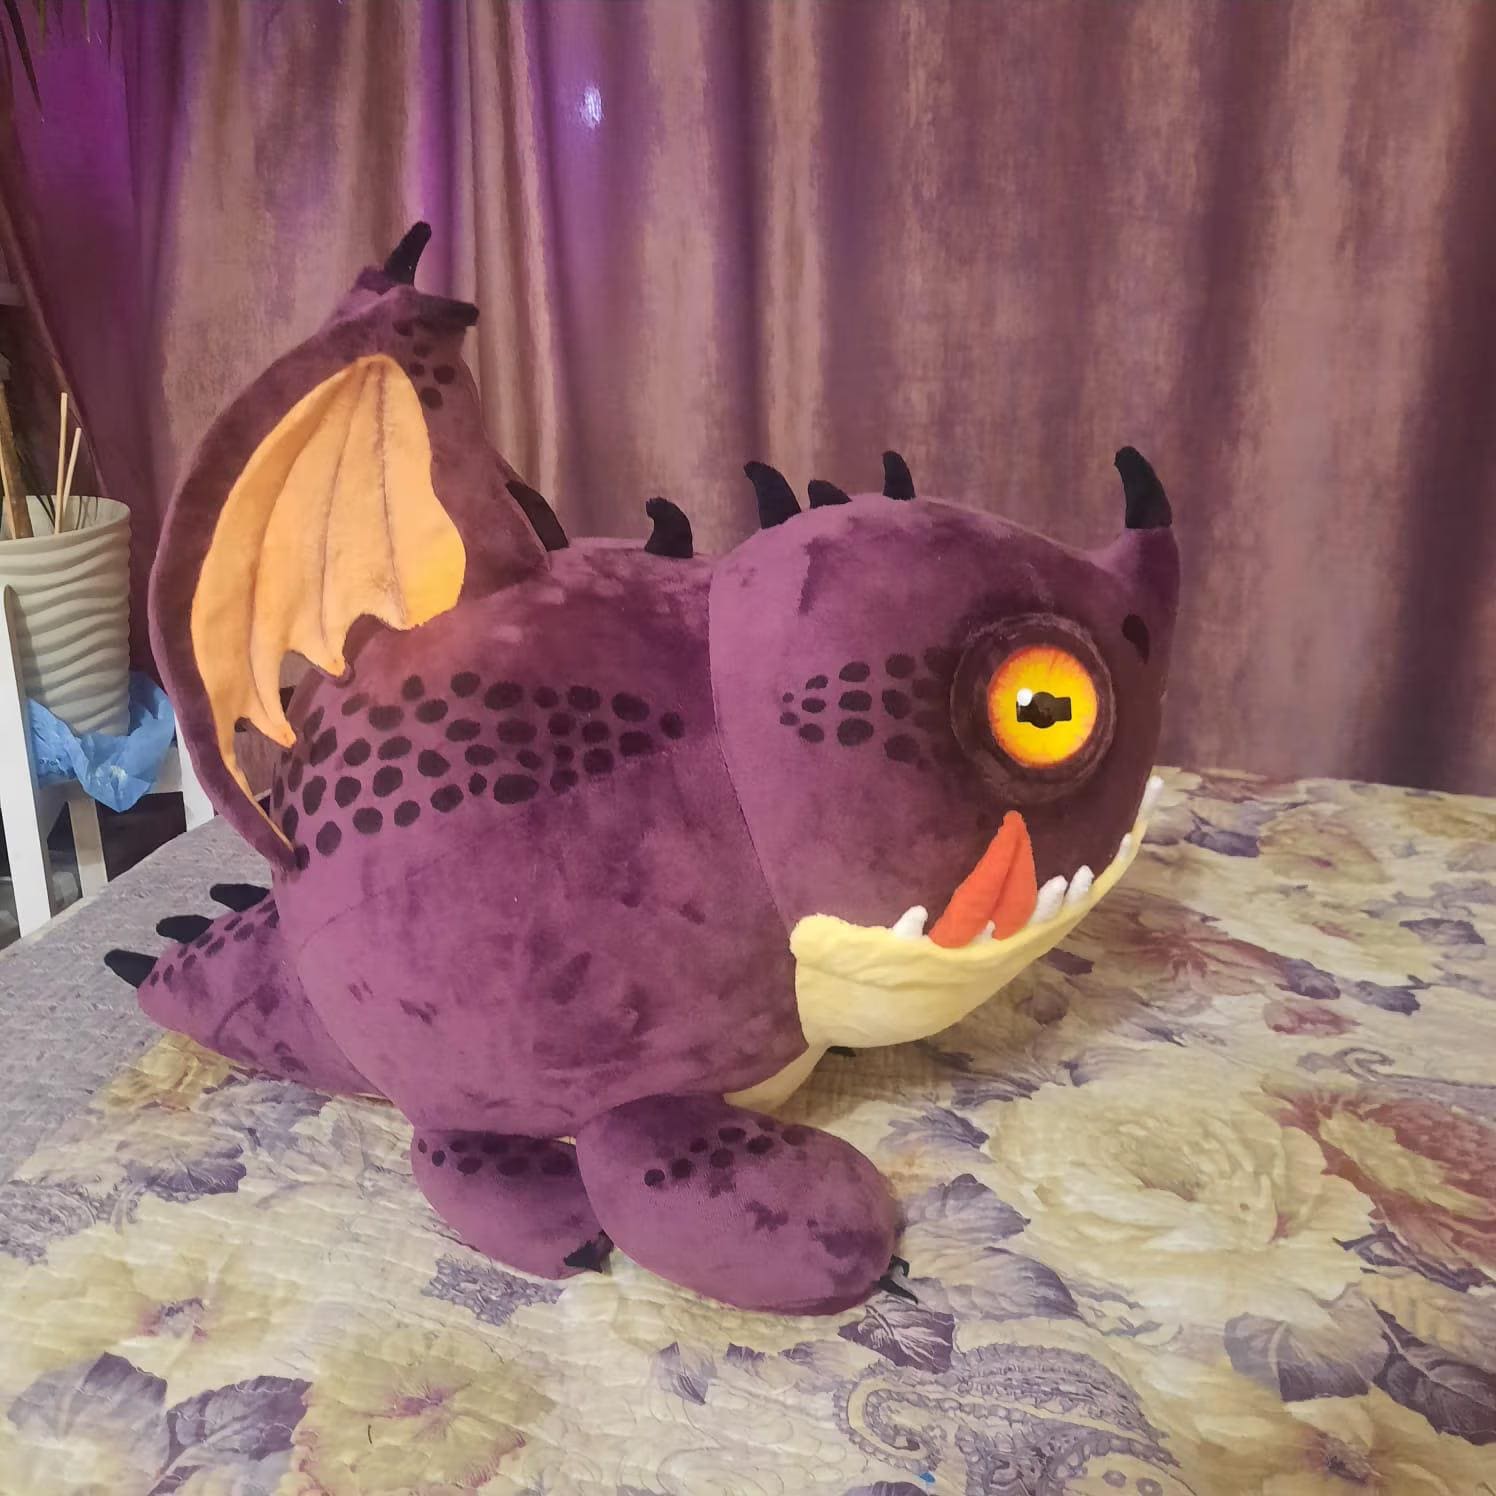
Sometimes, replacing worn-out parts like tails or wings can refresh your plush. Think about adding new fabric or patches to give your dragon a unique personality while restoring its form.
Credit: www.etsy.com
Frequently Asked Questions
How Do I Start Making A Diy Dragon Plush Toy?
Begin by gathering soft fabric, stuffing, and sewing tools. Use a simple dragon pattern. Cut fabric pieces carefully and sew them together with neat stitches.
What Materials Are Best For Dragon Plush Toys?
Choose soft fleece or felt fabric for comfort. Use polyester fiberfill for stuffing. Select matching thread colors and safety eyes for details.
How Can I Make My Dragon Plush Look Realistic?
Add features like wings, horns, and scales using fabric scraps. Use embroidery for eyes and mouth. Choose colors matching your dragon’s character.
What Sewing Skills Are Needed For Plush Toys?
Basic hand stitching or machine sewing skills suffice. Know how to sew seams, turn fabric inside out, and stuff evenly for a neat finish.
Conclusion
Creating your own How to Train Your Dragon plush toy is fun and rewarding. You can choose colors and shapes you like best. Each stitch brings your favorite dragon to life. This project helps improve your sewing skills step by step.
Enjoy the process and be proud of your work. Share your plush with friends or keep it as a special treasure. Keep practicing to make even better toys next time. Simple materials, a little time, and patience make all the difference.
Happy crafting!


