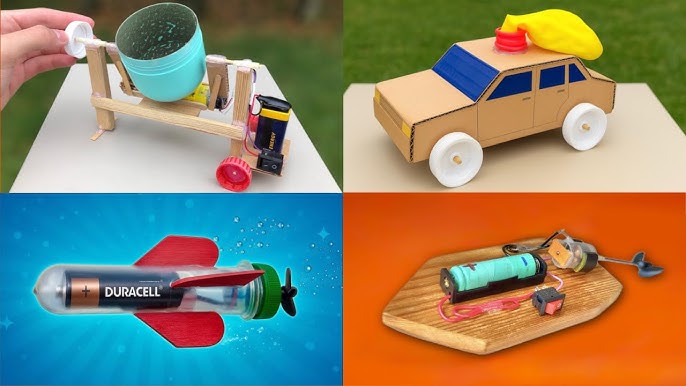
Have you ever wanted to capture moments in a fun and creative way? Making your own DIY viewfinder toy is easier than you think, and it’s a perfect project to spark your imagination.
In this guide, you’ll discover simple steps to build a unique toy that lets you see the world through a new lens. Whether you’re looking for a fun activity or a cool handmade gift, this DIY viewfinder will surprise you with how much joy it brings.
Ready to create something amazing with your own hands? Let’s get started!

Credit: thangs.com
Materials Needed
Gathering the right materials is key to making your own DIY viewfinder toy. Having everything ready before you start saves time and keeps your project smooth and fun. You don’t need fancy tools or expensive supplies—most items can be found around your home or at a local craft store.
Basic Supplies
- Cardboard tube:A sturdy paper towel or wrapping paper tube works perfectly as the body of your viewfinder.
- Small clear plastic sheets:These will act as the lenses or windows to peek through.
- Colored transparent films or cellophane:Use these to add colorful scenes inside your viewfinder.
- Glue or double-sided tape:Choose whichever sticks well to cardboard and plastic.
- Scissors or craft knife:For cutting the tubes and films precisely.
- Black marker or paint:To cover the outside of your tube and reduce light glare.
Make sure your cutting tools are sharp enough to create clean edges. Dull scissors can tear the cardboard, making your toy less durable. A black marker or paint might seem simple, but it really improves the viewing experience by preventing light leaks.
Optional Decorations
- Stickers and washi tape:Add fun patterns or themes to personalize your viewfinder.
- Glitter or sequins:These can make your toy sparkle and catch the eye.
- Markers or paint pens:Perfect for drawing designs or writing your name.
- Small beads or buttons:Glue them on for texture and added interest.
Do you want your viewfinder to look like a classic toy or something futuristic? Decorations let you express your style and make the toy truly yours. Sometimes, adding just one or two small details can transform a simple craft into a keepsake you’ll want to show off.

Credit: www.youtube.com
Preparing The Components
Preparing the components is a key part of making your DIY viewfinder toy. It sets the stage for a smooth assembly. Gather all materials before starting. This saves time and keeps the process organized.
Focus on cutting the cardboard precisely. The lens also needs careful crafting. Both parts must fit well to make the toy work properly.
Cutting The Cardboard
Use a sturdy piece of cardboard for the base. Mark the shapes with a pencil first. Use a ruler for straight lines.
- Cut two rectangular pieces for the main body.
- Cut a small square or circle for the lens hole.
- Cut extra strips for reinforcement and support.
Cut slowly and carefully. Clean edges help the toy look neat and function better.
Making The Lens
Create the lens from clear plastic or a magnifying glass. Check for scratches or dirt before use. Smooth surfaces give a clearer image.
- Cut the plastic into a circle slightly larger than the lens hole.
- Use sandpaper to smooth the edges if needed.
- Test the lens by looking through it at light or objects.
Ensure the lens fits well into the cardboard hole. It must stay secure without gaps.
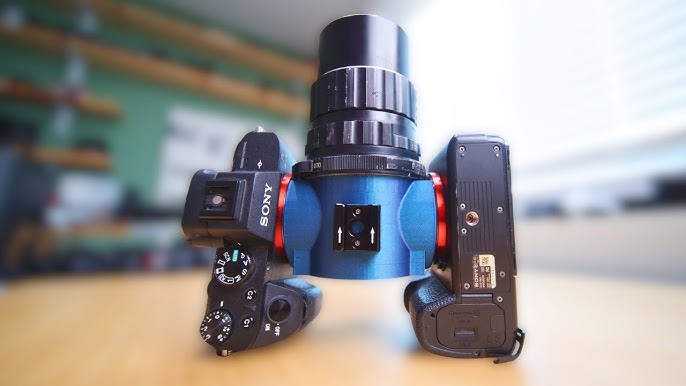
Assembling The Viewfinder
Assembling the viewfinder is where your DIY project really starts to take shape. This part requires a bit of patience and precision, but it’s also where you get to see your work come alive. Each component plays a vital role, so paying close attention will make your toy not just functional, but enjoyable to use.
Attaching The Lens
Begin by carefully placing the lens at the designated spot on your viewfinder frame. Use a small amount of glue or double-sided tape to hold it firmly in place. Make sure the lens is clean and free of fingerprints before attaching—it will affect the clarity of your images.
Try positioning the lens so it’s perfectly centered. This alignment is key for a clear, focused view. If the lens shifts even slightly, your final image can look blurry or distorted.
Securing The Frame
Once the lens is attached, it’s time to secure the frame itself. Use strong tape or glue along all edges to keep the pieces from moving. If your frame uses tabs or slots, double-check they fit snugly before sealing.
Think about how sturdy you want your toy to be. If it feels flimsy, add extra reinforcement with small pieces of cardboard or even a bit of clear tape on the inside. A well-secured frame means your viewfinder will last through many rounds of fun exploration.
Credit: cults3d.com
Adding Creative Elements
Creative touches make your DIY viewfinder toy unique and fun. Use colors, stickers, or drawings to personalize it. Small details bring your project to life and inspire imagination.
Adding creative elements to your DIY viewfinder toy elevates its charm and uniqueness. This is where your imagination takes center stage. By personalizing and incorporating visuals, you make it truly one-of-a-kind. Here are some exciting ways to add creativity to your viewfinder toy.Personalizing The Exterior
Transform the outer look to reflect your style. Use colorful craft paper or stickers to cover it. Choose patterns that resonate with you, like stars, polka dots, or stripes. Paint the surface with bright colors for an eye-catching design. You can also add glitter for some sparkle. This makes your viewfinder stand out and showcases your personality. Remember, the goal is to have fun while decorating.Incorporating Pictures Or Slides
Pictures or slides bring your viewfinder to life. Use family photos, nature scenes, or favorite cartoon characters. Print them small enough to fit inside your toy. Cut them into circular shapes for easy insertion. You can also draw your own images on small pieces of paper. Slide them into the viewfinder and enjoy a personal slideshow. This adds a magical touch, turning it into a visual storytelling tool.Using The Viewfinder Toy
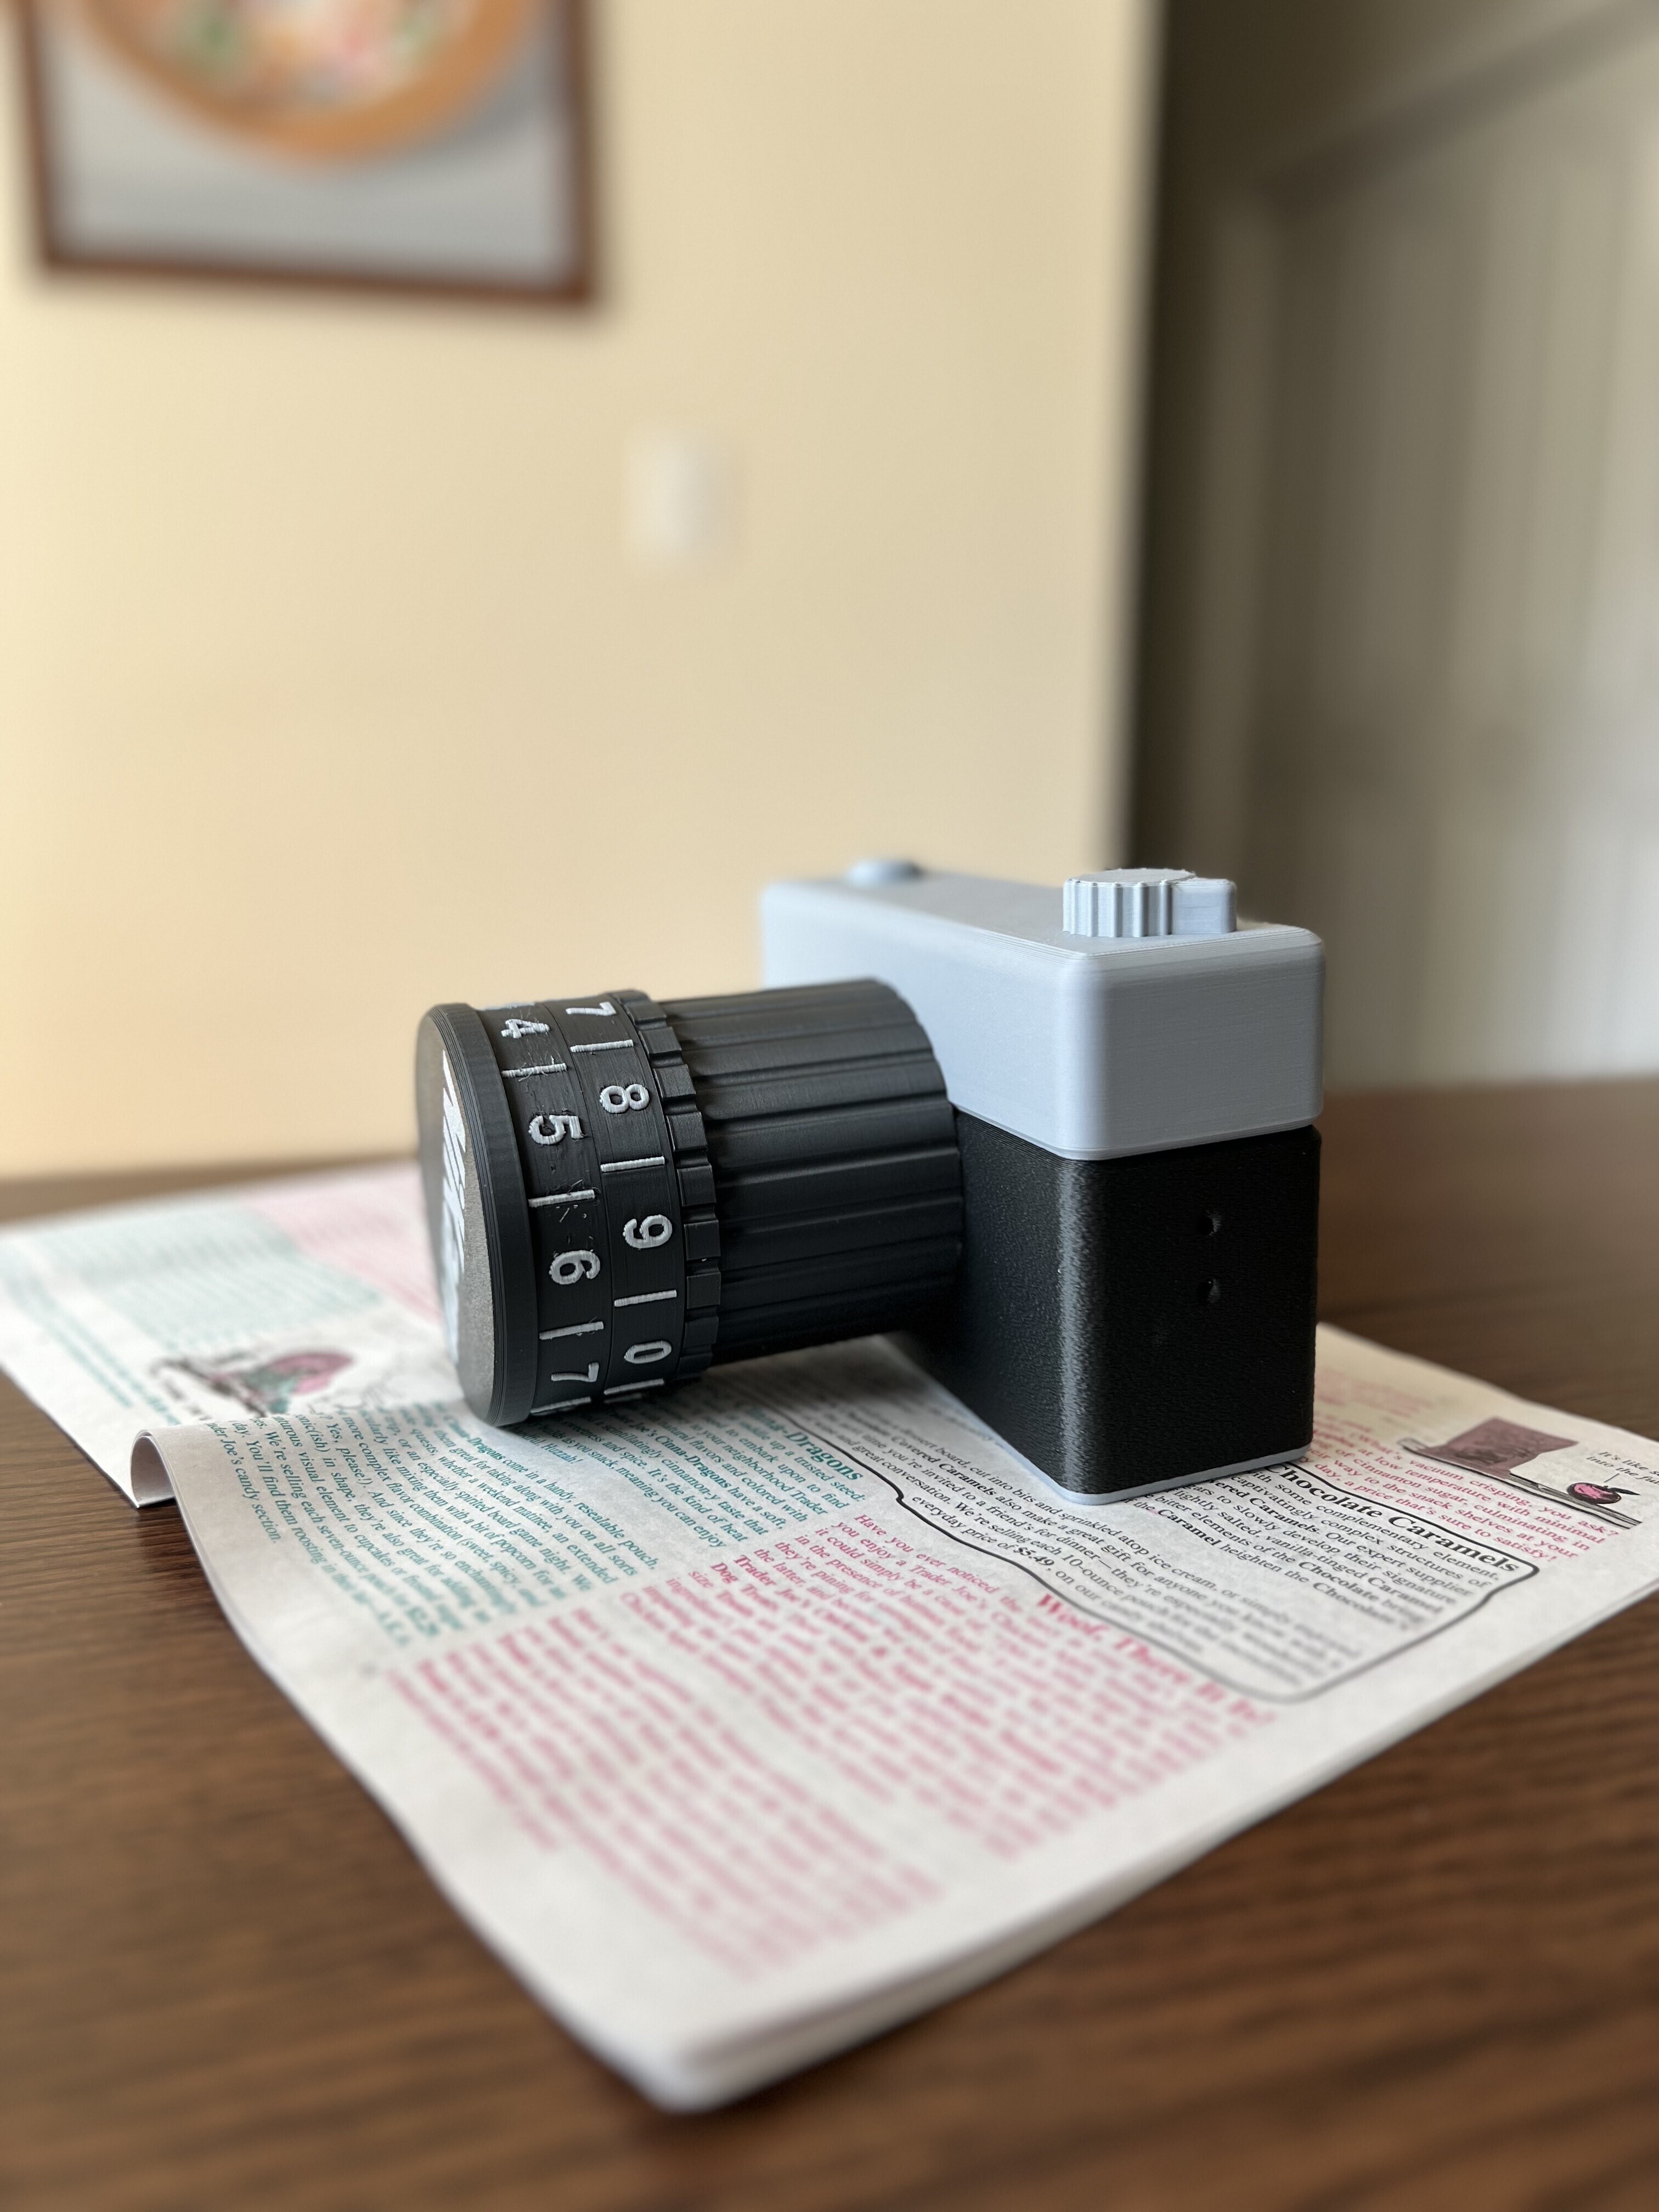
Using your DIY viewfinder toy is all about curiosity and creativity. It lets you see the world through a new lens, literally. You’ll find that simple adjustments can change your perspective dramatically, making everyday scenes feel fresh and exciting.
Viewing Techniques
Start by holding the viewfinder steady at eye level. Move it slowly from side to side to explore different angles and discover hidden details you might usually miss.
Try looking at objects both near and far. Notice how the viewfinder frames your vision differently depending on the distance. This can make familiar things feel like a mini adventure.
Experiment with lighting too. Bright sunlight, shadows, or indoor lighting all affect what you see through the viewfinder. Have you noticed how a shadow can suddenly add mystery to a simple object?
Maintenance Tips
Keep your viewfinder clean by wiping the lenses gently with a soft cloth. Dust and fingerprints can blur your view and take away from the fun.
Store it in a dry place to avoid moisture damage. If your viewfinder uses any moving parts, check them regularly to ensure they don’t get stuck or loose.
Have you thought about customizing your viewfinder? Adding a protective case or decorating it can make it more personal and encourage you to use it more often.
Frequently Asked Questions
What Materials Are Needed To Make A Diy Viewfinder Toy?
To make a DIY viewfinder toy, you need cardboard, scissors, glue, and pictures. These basic supplies help create the frame and images for your toy. Using recycled materials is also eco-friendly and cost-effective.
How Do You Assemble A Homemade Viewfinder Toy?
Cut cardboard into a rectangular frame and fold it properly. Insert pictures or slides inside the frame. Glue the edges securely to hold the images in place. Ensure the toy’s viewing window is clear for the best effect.
Can Kids Safely Make A Diy Viewfinder Toy?
Yes, kids can safely make a DIY viewfinder with adult supervision. Use child-friendly scissors and non-toxic glue. This craft is simple, fun, and encourages creativity while teaching basic crafting skills.
How Long Does It Take To Create A Diy Viewfinder?
Creating a DIY viewfinder usually takes 30 to 60 minutes. It depends on the complexity of the design and drying time for glue. This quick project is perfect for a fun, educational activity.
Conclusion
Making a DIY viewfinder toy is fun and simple. You only need a few materials and some patience. This project lets you explore creativity while learning how things work. Kids and adults can enjoy building it together. It also encourages hands-on play and imagination.
Try different designs or colors to make it unique. Keep experimenting and have fun with your homemade viewfinder toy. It’s a great way to spend time and learn new skills. Give it a try and see what you create!