Have you ever wanted to create something fun that actually flies? Making DIY flying toys is easier than you think, and it’s a great way to bring excitement to your day.
Whether you’re looking for a new hobby, a creative project for kids, or just want to impress your friends, this guide will show you simple steps to build your own flying toys at home. Ready to discover how your hands can bring these toys to life?
Keep reading, and you’ll be amazed at what you can make!
Materials Needed
Gathering the right materials is key to crafting fun and safe DIY flying toys. The supplies should be easy to find and safe for kids. Basic items form the core of your project, while optional tools can make the process smoother.
Choosing quality materials helps your flying toy work better and last longer. Most items come from simple household goods or local stores. Prepare your workspace with these materials before you start building.
Basic Supplies
- Lightweight paper or cardstock for wings
- Scissors with a safe edge
- Glue stick or craft glue
- Straws or thin wooden sticks for support
- Rubber bands for tension
- Paper clips or small weights to balance
- Markers or crayons for decoration
Optional Tools
- Craft knife for detailed cuts
- Ruler for precise measurements
- Double-sided tape for stronger bonds
- Hot glue gun for quick assembly
- Cutting mat to protect surfaces
- Tweezers for handling small parts

Credit: www.youtube.com
Choosing Your Flying Toy
Choosing the right flying toy sets the stage for your DIY adventure. Different types of flying toys offer unique building experiences and flight behaviors. Think about what excites you most—speed, distance, or cool aerial tricks—and pick a design that matches your goal.
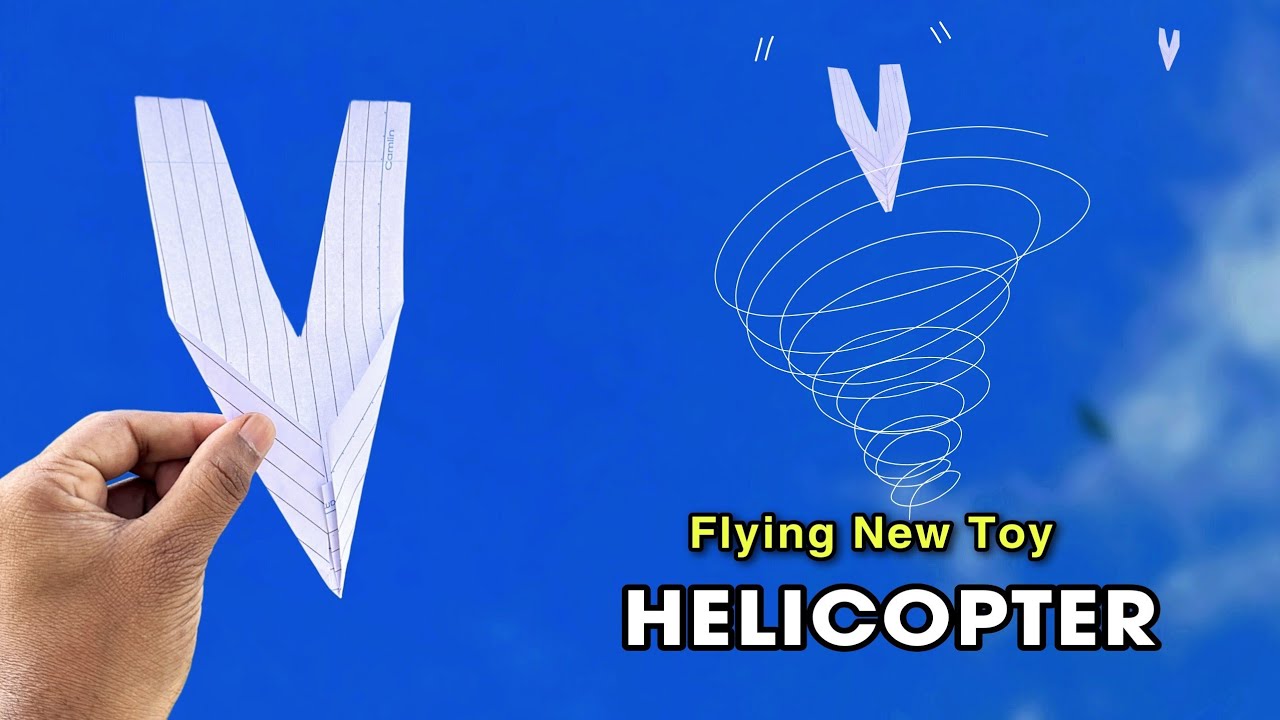
Paper Airplanes
Paper airplanes are the easiest and quickest to make. You only need a sheet of paper and some folding skills. You can experiment with various designs to see which one flies the farthest or performs the best tricks.
Try adding a paperclip to the nose to change the flight path. Have you noticed how small changes can make a big difference in how your plane flies? It’s a fun way to learn about aerodynamics firsthand.
Gliders
Gliders are a step up and usually made from lightweight materials like balsa wood or foam. They don’t rely on engines or propellers but glide smoothly through the air after you launch them. Building a glider requires more precision but rewards you with longer, graceful flights.
Think about balancing the wings and tail carefully—this affects stability. Have you tried adjusting the wing angle to see how it changes the flight? It’s a hands-on lesson in physics that keeps you curious.
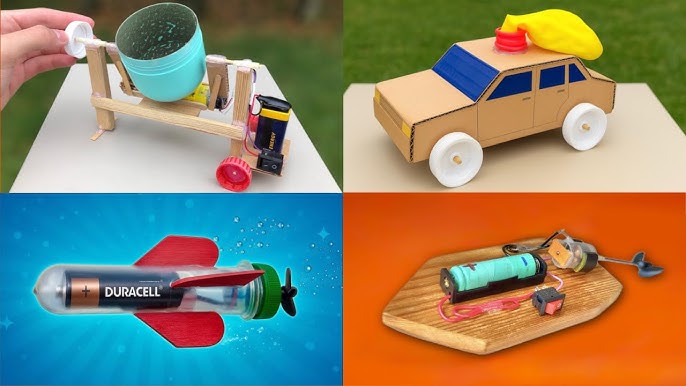
Boats And Helicopters
Boats and helicopters add exciting mechanics to your flying toy collection. DIY helicopters often use rubber bands or small motors to spin their rotors. Boats can be designed to float and glide over water, combining flight and water play.
Making these requires more parts and patience but offers a deeper building experience. Would you enjoy testing your creation both in the air and on water? This choice opens up creative possibilities beyond simple flight.
Step-by-step Instructions
Creating your own flying toys is a rewarding hands-on activity that brings both fun and learning together. Clear, precise steps help ensure your toy soars smoothly and lasts longer. Let’s break down the process into easy parts that anyone can follow.
Folding Techniques
Start with clean, crisp folds to give your toy the best shape. Use your fingernail or a flat edge to press down folds sharply—this improves aerodynamics. Remember, uneven folds can make your toy veer off course, so take your time aligning edges carefully.
Try folding paper in half, then into thirds for wings. Different fold styles, like diagonal creases, can change how your toy glides or spins. Experiment with small adjustments and watch how each change affects flight.
Assembly Tips
Use lightweight tape or glue sparingly to hold parts together without adding extra weight. Avoid thick layers that could weigh down your toy or cause drag. Keep your workspace clean and organized—losing small parts can be frustrating and slow you down.
If you’re attaching multiple pieces, test how they fit before securing. Sometimes a slight overlap or gap can affect stability. Try assembling parts loosely first, then tighten once you’re sure of the fit.
Balancing And Adjusting
Balance is key to smooth flight. Check that your toy isn’t nose-heavy or tail-heavy by gently placing it on your finger at the center of gravity. If it tips forward or backward, add a small paperclip or fold a tiny piece of paper to the lighter end.
Adjust wing angles slightly to control lift and direction. Small bends or curls can make a big difference. Don’t be afraid to test and tweak—each adjustment teaches you more about flight dynamics.
Have you noticed how even a tiny change can completely alter your toy’s flight path? This hands-on trial and error makes the process exciting and personal. What’s the best trick you’ve discovered to keep your flying toy in the air longer?

Credit: www.youtube.com
Decorating Your Toys
Decorating your DIY flying toys is where creativity really takes flight. It’s not just about making your toys look good; it’s about giving them personality and making each one unique. Adding colors and designs turns your simple creation into a fun, eye-catching piece that you’ll be proud to show off or even gift to someone.
Coloring Ideas
Choosing the right colors can make your flying toys stand out in the sky. Use bright, bold colors like red, blue, or yellow to catch attention from afar. If you want something subtle, soft pastels or metallic shades give a sleek, modern look.
Try mixing different coloring tools like markers, paint, or colored pencils. Each gives a different texture and effect. For example, water-based paints dry quickly and are great for kids, while permanent markers add sharp, vivid lines.
Have you ever thought about using patterns instead of solid colors? Stripes, dots, or even camouflage designs can make your toy look like a mini aircraft or a wild creature. Play around with color combinations until you find one that excites you.
Adding Stickers And Designs
Stickers are an easy way to add fun details without much effort. Choose stickers that match your toy’s theme—stars for a space rocket, flames for a race plane, or cute animals for a whimsical touch.
Layering stickers can also create interesting textures and effects. Try overlapping small stickers to form a bigger image or pattern. This technique adds depth and makes your toy visually dynamic.
Don’t stop at stickers—use stencils or stamps to paint logos, shapes, or even your initials. This personal touch makes your toy one of a kind. Have you tried creating your own custom stickers? It’s a fun project that adds extra personality to your flying toy.
Testing And Flying Tips
Testing and flying your DIY toys can be an exciting experience. It’s important to know how to achieve the best flight. Proper testing ensures your flying toy performs well in the air. Here are some tips to guide you through this process.
Best Conditions For Flying
Choose a clear, open space to fly your toy. Parks or large fields work well. Avoid windy days, as they can affect the toy’s flight. Calm weather offers the best control and stability. Morning or late afternoon often provides ideal conditions. Make sure the area is free of obstacles like trees or buildings.
Troubleshooting Flight Issues
If the toy doesn’t fly, check its weight balance. An uneven balance can cause poor flight performance. Ensure all parts are securely attached to prevent mid-air issues. Adjust the wings or propellers if the flight is unstable. Use tape or glue to reinforce loose parts. If problems persist, review your construction steps for errors.
Creative Variations
Adding creative variations to your DIY flying toys makes the project more exciting and personal. It invites you to experiment with different designs and materials, turning a simple toy into a unique masterpiece. These variations can improve flight performance and boost your enjoyment.
Customizing Shapes
Changing the shape of your flying toy affects how it moves through the air. You can try wings shaped like arrows for speed or wide, flat wings for longer glides. Have you tried cutting your paper airplane with curved edges or folding it into a boomerang shape? These tweaks can make a big difference in flight behavior.
Try folding a simple dart shape, then adjust the wings by trimming the tips or bending them upwards. Notice how the flight path changes? Playing with these shapes encourages you to observe and understand basic aerodynamics firsthand.
Incorporating Recycled Materials
Using recycled materials not only helps the environment but also adds texture and strength to your flying toys. Old magazines, cereal boxes, or plastic bottles can become parts of wings or bodies. Have you thought about using a soda can tab as a weight to improve balance?
Mixing materials lets you test how weight and flexibility affect flight. For example, combining a cardboard base with paper wings can make your toy sturdier yet light enough to soar. Plus, it’s a fun way to give new life to things you might otherwise throw away.
Safety Tips
Safety should always be your top priority when making and playing with DIY flying toys. These projects are fun and creative, but small mistakes can lead to accidents. Understanding and applying key safety tips will help you enjoy your toys without any trouble.
Safe Play Areas
Choose open spaces free from obstacles like trees, wires, and furniture. A backyard or park with plenty of room works best for flying toys. Avoid crowded places where your toy could accidentally hit someone or something valuable.
Think about wind conditions too. Strong gusts can send your toy off course, making it harder to control and increasing the risk of damage or injury. Play during calm weather for the safest experience.
Handling Small Parts
Many DIY flying toys include small components like screws, clips, or rubber bands. These parts can be choking hazards, especially for young children. Keep these bits organized and out of reach from kids under three years old.
Use containers or trays to hold small pieces while you work. This keeps your workspace tidy and reduces the chance of losing parts or accidentally swallowing them. Have you noticed how quickly tiny parts disappear on a cluttered table?

Credit: www.youtube.com
Frequently Asked Questions
What Materials Do I Need For Diy Flying Toys?
You need lightweight materials like paper, cardboard, plastic straws, rubber bands, and glue. These materials are affordable and easy to find. Using light materials helps your flying toy achieve better flight and durability.
How Can I Make A Paper Plane Fly Farther?
Fold sharp, symmetrical wings and add small winglets for stability. Throw the plane with moderate force and a smooth motion. Adjust the wings slightly to improve flight distance.
Are Diy Flying Toys Safe For Children?
Yes, when made with non-toxic, lightweight materials and supervised by adults. Avoid sharp edges or heavy components to prevent injuries. DIY flying toys encourage creativity and safe playtime.
Can I Use Recycled Materials For Flying Toys?
Absolutely! Recycled paper, plastic bottles, and cardboard work well. Using recycled materials is eco-friendly and cost-effective. It also teaches kids about sustainability while having fun.
Conclusion
Making DIY flying toys brings fun and learning together. Kids and adults enjoy building simple, creative toys. These projects improve skills like patience and problem-solving. Plus, flying toys encourage outdoor play and imagination. Try different designs to see which flies best.
Share your creations with friends and family. Keep experimenting and have fun with every flight. Making toys yourself feels rewarding and exciting. Give it a try and watch your ideas take flight!