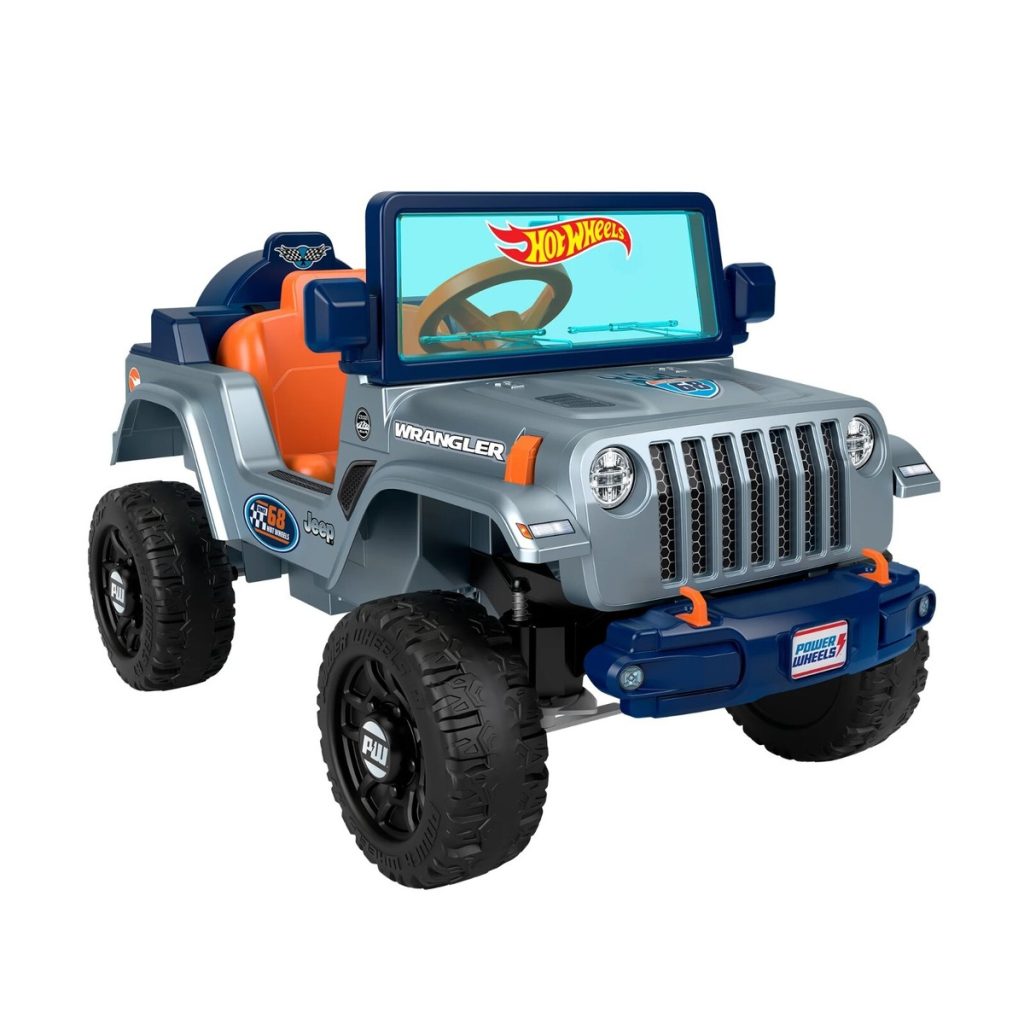
Have you ever wanted to create your very own remote controlled toy car? Imagine the excitement of driving a car you built with your own hands, controlling it from a distance, and showing it off to your friends.
Building a remote controlled car might sound complicated, but with the right steps, tools, and a little patience, you can make it happen. This guide will walk you through each part of the process, making it simple and fun. By the end, you’ll not only have a cool toy but also a great sense of accomplishment.
Ready to start? Let’s dive in and bring your remote controlled car to life!
Choosing The Right Materials
Choosing the right materials is key to building a remote controlled toy car that works well and lasts long. The right parts affect speed, control, and durability. Picking materials carefully saves time and effort later.
Selecting The Car Body
The car body should be light but strong. Plastic and lightweight wood are good choices. Plastic is easy to shape and handle. Wood offers good strength but may weigh more. Avoid heavy metals as they slow the car down. The design should allow room for motors and electronics.
Picking The Motors And Wheels
Motors must match the car’s size and weight. Small DC motors work well for toy cars. They provide enough power without draining batteries fast. Wheels should fit the motor shafts and be sturdy. Rubber wheels offer better grip on most surfaces. Make sure wheels turn smoothly for better control.
Required Electronic Components
Basic electronics include a remote control, receiver, battery pack, and wiring. Choose a simple remote control system for easy use. Use rechargeable batteries to save money and reduce waste. Wires should be flexible but strong enough to handle movement. A small switch helps turn the car on and off easily.

Credit: www.youtube.com
Gathering Tools And Equipment
Before you start building your remote-controlled toy car, gathering the right tools and equipment is crucial. Having everything ready will save you time and frustration as you assemble your project. It also ensures you can work safely and efficiently throughout the build.
Essential Hand Tools
You need a basic set of hand tools that will make the assembly process smoother. A good screwdriver set with various heads (Phillips, flat, and small precision tips) is a must-have. Needle-nose pliers help you grab tiny parts and bend wires precisely.
Don’t forget a small adjustable wrench for tightening nuts and bolts. A wire stripper will make your wiring tasks easier and cleaner. These tools are inexpensive but invaluable for detailed work.
Soldering And Wiring Supplies
Soldering is key to creating strong electrical connections in your RC car. A reliable soldering iron with adjustable temperature control is ideal to avoid damaging sensitive components. Use rosin-core solder designed for electronics to get clean, conductive joints.
Keep some heat shrink tubing or electrical tape on hand to insulate your connections safely. Thin gauge wiring, like 22 or 24 AWG, works well for most circuits in toy cars. Preparing these supplies in advance helps you avoid last-minute trips to the store.
Safety Gear
Safety should never be overlooked, even in small projects. Protective goggles shield your eyes from solder splashes or flying wire bits. Work in a well-ventilated area or use a fume extractor to avoid inhaling solder fumes.
Consider wearing heat-resistant gloves if you’re new to soldering; they protect your hands from accidental burns. Simple precautions like these keep your building experience safe and enjoyable.
Assembling The Car Chassis
Assembling the car chassis is where your remote controlled toy car begins to take shape. This part sets the foundation for everything else, so it’s important to be precise and patient. You’ll connect the motors, wheels, and frame, creating a solid base that can handle movement and speed.
Mounting Motors And Wheels
Start by securing the motors firmly to the chassis. Use screws or brackets that match the motor size to avoid any wobble during operation. A loose motor can cause jerky movements or even damage your wiring.
Next, attach the wheels directly to the motor shafts or axles. Check if the wheels spin smoothly without rubbing against the chassis. If they don’t, adjust the alignment carefully—you want the wheels to roll freely but stay firmly in place.
Attaching The Body Frame
The body frame gives your car its shape and protects internal components. Align the frame with the chassis mounting points before fastening it with screws or clips.
Keep in mind that the frame shouldn’t be too tight or too loose. Too tight can cause stress on the chassis; too loose means your car could rattle or parts might fall off during use. Think about balancing sturdiness with some flexibility.
Ensuring Structural Stability
Once motors, wheels, and frame are in place, check the overall stability by gently shaking the car. If you hear creaks or see parts shifting, identify those weak points and reinforce them. You can use small brackets, extra screws, or even glue designed for plastic or metal.
Ask yourself: Will this chassis hold up under rough terrain or fast turns? If not, strengthen it now rather than fixing problems later. A stable chassis means better control and a longer-lasting toy car.
Setting Up The Remote Control System
Setting up the remote control system is crucial for your toy car project. Connect the transmitter and receiver properly to ensure smooth operation. Check the frequency settings to avoid interference, and test the controls to ensure they respond accurately.
Setting up the remote control system is a pivotal part of building your remote-controlled toy car. This stage brings your creation to life, allowing you to maneuver it at your command. With the right setup, your car will respond smoothly, providing an exciting and interactive experience.Choosing A Remote Control Method
Selecting the right remote control method is crucial for your toy car’s performance. Decide between radio frequency (RF) or infrared (IR) control, based on your needs and expertise. RF provides a longer range and works well outdoors, while IR is ideal for indoor use and more straightforward setups. Consider the complexity of the system you are comfortable handling. If you’re new to electronics, starting with a basic IR system can be less daunting. More advanced users might appreciate the flexibility and range offered by RF systems.Connecting The Receiver And Transmitter
Once you’ve chosen your method, it’s time to connect the receiver and transmitter. The receiver is mounted on the car, receiving signals from the transmitter in your hand. Ensure the receiver is securely attached and connected to the car’s motor and battery. Carefully follow the wiring instructions provided with your control system. Double-check connections to avoid any mishaps that could affect performance. Properly installed, the receiver and transmitter will communicate seamlessly, translating your commands into action.Testing Signal Range
Before taking your car for a spin, test the signal range. Start by driving your car around your immediate area to see how well it responds. This helps identify any interference or weak spots in signal reception. Experiment with the car at various distances to ensure the signal remains strong. Adjust the antenna or reposition the receiver if necessary to improve range. By thoroughly testing, you ensure your car is ready for both close-quarters maneuvering and longer excursions.Wiring The Electrical Components
Wiring the electrical components is where your remote controlled toy car truly starts to come alive. This stage demands precision and patience, as every connection affects how well your car runs and responds. Understanding the wiring layout will save you from troubleshooting headaches later.
Connecting Motors To The Circuit
Begin by identifying the positive and negative terminals on your motors. Connecting these correctly ensures your motors spin in the desired direction. Use jumper wires or soldered connections to attach the motors to the motor driver or control board.
Double-check each connection for firmness. Loose contacts can cause intermittent motor failures that are tricky to diagnose. Have you noticed how a shaky connection can make your car jerk unexpectedly? Avoid that by securing every wire firmly.
Installing The Battery Pack
Choose a battery pack that matches your motor’s voltage requirements to avoid underpowering or damaging your components. Connect the battery pack leads to your circuit’s power input, respecting polarity to prevent short circuits.
Consider adding a switch between the battery and the circuit for easy power control. When I first built my toy car, forgetting a switch meant unplugging the battery every time I wanted to stop the car—a small addition that made a huge difference.
Securing Wiring For Safety
After all connections are made, bundle your wires neatly using zip ties or electrical tape. This prevents wires from snagging on moving parts or getting damaged during use. A tidy wiring job also makes future repairs and upgrades much easier.
Inspect your wiring for exposed copper or weak spots. Exposed wires increase the risk of shorts and can harm your car’s electronics. How often do you check your wiring before running your remote controlled car? Making it a habit can save you a lot of frustration.
Programming The Control Unit
Programming the control unit is the heart of your remote controlled toy car. This step allows your car to respond to commands and move as you want. Choosing the right microcontroller and writing simple code are key to making your car come alive. Testing the program ensures your car runs smoothly and reacts correctly.
Selecting A Microcontroller
The microcontroller acts as the brain of your toy car. Pick one that is easy to program and has enough input/output pins for your motors and sensors. Popular choices include Arduino Uno and ESP32. These boards have large support communities and many tutorials.
Consider these features:
- Number of digital and analog pins
- Power consumption
- Compatibility with your programming tools
- Size and weight for your car design
Writing Basic Movement Code
Start with simple commands to control your car’s movement. Your code should move the car forward, backward, left, and right. Use functions to organize your commands. Keep the code short and clear.
Example commands include:
- Set motor speed
- Change motor direction
- Stop motors
Use delay functions to control how long the car moves in each direction. This makes testing easier and helps tune movement distances.
Uploading And Testing The Program
Connect your microcontroller to your computer using a USB cable. Use an IDE like Arduino IDE to upload your code. Watch the car’s response carefully.
Test each movement command one by one. Make sure the car moves correctly in all directions. Fix any errors in your code or wiring. Repeat testing until you get smooth and accurate control.
Troubleshooting Common Issues
Troubleshooting your remote controlled toy car can turn a frustrating moment into a learning experience. Identifying what’s wrong quickly helps you get back to the fun faster. Let’s look at common issues you might face and how to tackle them effectively.
Motor Function Problems
If your toy car isn’t moving as expected, the motor might be the culprit. First, check if the motor is receiving power by listening for any humming sounds when you try to operate it.
Sometimes, dust or small debris can clog the motor gears. Clean around the motor with a soft brush and make sure the gears move freely. Also, inspect the motor connections to ensure wires are firmly attached and not damaged.
Have you ever noticed your car jerking or slowing down? This could mean the motor is overheating or wearing out. Try running the motor in short bursts rather than continuously to prevent damage.
Signal Interference
Your remote’s signal can get lost or interrupted, causing the car to respond poorly or not at all. Check if other wireless devices nearby might be interfering with the frequency you’re using.
Walls, metal objects, and even other remote-controlled toys can block or weaken signals. Try moving to an open space or changing the channel on your remote control if possible.
Have you tested the distance between your remote and the car? Sometimes, simply getting closer can solve control issues. If not, replacing the remote’s batteries might improve signal strength.
Power Supply Challenges
Nothing stops the fun faster than a dead battery. Always ensure your batteries are fully charged or fresh before starting a session.
Check the battery contacts inside the car and remote. Dirt or corrosion can prevent proper power flow. Cleaning these contacts with a small amount of rubbing alcohol on a cotton swab often restores connection.
If your car’s battery drains quickly, consider the type and quality of batteries you’re using. Rechargeable batteries are cost-effective, but some cheaper brands may not hold charge well. Have you tried switching brands or battery types to see if performance improves?

Credit: www.youtube.com
Customizing And Enhancing Features
Customizing your remote controlled toy car opens up endless possibilities to make it uniquely yours. Enhancing its features not only improves performance but also adds fun and functionality. Whether you want it to stand out visually or perform better on different terrains, small upgrades can make a big difference.
Adding Led Lights
Adding LED lights transforms your toy car from simple to eye-catching. You can install LEDs on the front to act as headlights or under the chassis for cool glow effects. Using battery-powered LED strips or small bulbs, connect them to your car’s power source carefully.
Think about colors that match your car’s design or even programmable RGB LEDs for changing effects. LEDs also improve visibility if you enjoy driving your car in low light. Have you tried adding lights yet? The instant cool factor is impressive.
Upgrading Speed And Range
Want your car to go faster or reach farther? Upgrading the motor to a higher RPM version can boost speed significantly. Pair this with a better battery, such as a lithium-polymer (LiPo) battery, for longer run times and improved power output.
Extending the remote control’s range usually means upgrading the transmitter and receiver to models with stronger signals. This lets you drive your car across larger open spaces without losing control. What’s the longest distance you’ve managed to drive your car so far?
Incorporating Sensors
Adding sensors brings smart features to your toy car. Ultrasonic sensors help with obstacle detection, allowing the car to avoid crashes automatically. You can also add infrared sensors for line following, making your car navigate tracks on its own.
Integrating sensors requires some basic programming but offers a rewarding experience. It’s like giving your car a sense of awareness. Have you considered how sensors could change the way you play with your remote controlled car?

Credit: www.youtube.com
Frequently Asked Questions
What Parts Are Needed To Build A Remote Controlled Toy Car?
You need a chassis, DC motors, wheels, a battery pack, a remote control, and a receiver module. Additional items include wires, a motor driver, and a microcontroller for control.
How Do I Connect The Remote Control To The Toy Car?
The remote sends signals to the receiver on the car. The receiver processes these signals and controls the motor driver, which powers the motors to move the car.
What Tools Are Essential For Assembling The Toy Car?
Basic tools include a soldering iron, wire stripper, screwdriver, and pliers. These help in connecting wires, fixing components, and assembling the chassis securely.
Can Beginners Build A Remote Controlled Toy Car Easily?
Yes, beginners can build one by following step-by-step guides. Starting with simple kits and tutorials makes the process more manageable and educational.
Conclusion
Building a remote controlled toy car can be fun and rewarding. You get to learn about electronics and mechanics. Each step helps you understand how things work together. Testing your car on different surfaces adds excitement. Small fixes make your car run better.
Enjoy the process and keep practicing. Soon, you will have a toy car you built yourself. This project also teaches patience and problem-solving skills. Try sharing your creation with friends or family. It’s a great way to spend time and learn new things.