Have you ever wondered if you can turn your simple battery-operated toy into a cool remote-controlled gadget? Imagine the fun and excitement you could add to your playtime by controlling your toy from a distance.
You don’t need to buy a new expensive toy or complicated gear. You’ll discover easy and practical ways to upgrade your battery-powered toy, making it remote controlled and way more enjoyable. Keep reading to find out how you can bring your toy to life with just a few simple steps!
Choosing The Right Toy
Choosing the right toy is key to making a battery-operated toy remote controlled. Not every toy fits well with remote control upgrades. Some toys need more power, while others require specific materials for easy modification. Understanding these factors helps pick the best toy for your project.
Battery Operated Options
Start with toys that already use batteries. These toys have built-in power sources, making remote control easier to add. Toys powered by AA or AAA batteries are common and simple to work with. Check the battery compartment size and voltage before choosing. Toys with rechargeable batteries also work but may need extra care during modification.
Toy Size And Weight Considerations
The size and weight of the toy affect how well it moves with remote control. Small toys may not hold the extra parts needed for remote control. Heavy toys might need stronger motors and batteries to move properly. Choose a toy light enough to move but big enough to fit the remote control system inside.
Material Compatibility
Materials impact how easy it is to modify a toy. Plastic toys are best because they are lightweight and easy to cut or drill. Metal toys are tougher but harder to change and heavier. Avoid toys with fragile parts or soft materials that might break during installation. Pick toys with sturdy plastic bodies for smooth upgrades.
Credit: www.amazon.in
Essential Components Needed
To turn a battery-operated toy into a remote-controlled one, specific parts are crucial. These parts work together to control the toy’s movement from a distance. Each component plays a unique role in making the toy responsive and fun to use.
Remote Control Modules
Remote control modules send and receive signals between the toy and the controller. The transmitter is in the remote, sending commands. The receiver is inside the toy, understanding these commands.
Common modules include RF (radio frequency) and IR (infrared). RF modules work over longer distances and do not need a direct line of sight. IR modules need clear signals but are easier to find and use.
Motors And Servos
Motors and servos create movement in the toy. Motors make wheels or tracks turn. Servos control precise movements like steering or moving parts up and down.
Choosing the right motor depends on the toy’s size and weight. Servos offer control for more detailed actions. Both types need to fit inside the toy’s body.
Power Supply And Batteries
The power supply keeps the toy and control system running. Batteries are the most common choice for portability. Use batteries that match the voltage and current needs of the motors and electronics.
Rechargeable batteries can save money and reduce waste. Always check battery life to avoid interruptions during play. Proper power ensures smooth operation and longer fun.
Tools For The Project
Before you start turning a battery-operated toy into a remote-controlled gadget, having the right tools is key. The tools you choose will make your work easier, safer, and more precise. Let’s break down what you’ll need to bring your project to life.
Soldering Equipment
A good soldering iron is essential for connecting wires and components securely. Choose one with adjustable temperature control to avoid damaging sensitive parts. Don’t forget solder wire and a stand to keep your workspace safe.
Adding a soldering tip cleaner keeps your iron in top shape and ensures clean, reliable joints. If you’re new to soldering, a beginner-friendly iron with a quick heat-up time can save frustration. Have some flux on hand to improve the flow of solder and prevent cold joints.
Basic Hand Tools
Simple hand tools make a huge difference when working with small toy parts. A set of precision screwdrivers helps you open battery compartments and remove screws without stripping them. Needle-nose pliers allow you to bend and hold tiny wires easily.
Wire cutters and strippers are necessary to prepare wires for connections. A small hobby knife can assist with trimming plastic or insulation. Keep a few zip ties or electrical tape nearby to manage loose wires neatly.
Multimeter And Testing Devices
A multimeter is your best friend when testing voltage, continuity, and resistance. It helps you verify if your connections are working before powering up the toy. This tool can prevent costly mistakes and save time troubleshooting later.
You might also want a simple battery tester to check the health of your batteries. Testing devices help you monitor your progress and ensure everything functions safely. Have you ever powered up a project only to find a loose wire? A multimeter can catch that before it becomes a problem.

Credit: pricehistory.app
Preparing The Toy For Modification
Preparing the toy for modification is the first key step in making a battery-operated toy remote controlled. This process ensures the toy is ready to accept new components and function smoothly after changes. Taking time here prevents damage and makes the project easier to complete.
Start by carefully opening the toy and checking its internal parts. Knowing what is inside helps in planning the next steps.
Opening And Inspecting The Toy
Use a small screwdriver to remove screws on the toy’s casing. Keep the screws safe for reassembly. Gently separate the two halves of the toy’s body. Avoid breaking plastic clips or wires inside.
Look inside and identify the battery compartment, motor, and wiring. Check if the motor runs smoothly and if wires connect properly. Note areas where new parts can fit without damage.
Removing Unnecessary Parts
Some toys have parts that are not needed for remote control. Remove these parts carefully using pliers or cutters. Avoid cutting wires that may be important.
Clear space inside the toy for the remote control receiver and battery pack. Removing extra gears or plastic pieces can help fit new components. Keep removed parts in case you need them later.
Planning Component Placement
Plan where to place the remote control receiver, battery pack, and switches. Choose spots that do not block moving parts or the toy’s outer shell. Make sure wires can reach the motor and power source easily.
Mark these spots with a pencil or small stickers. This helps in precise installation later. Good planning saves time and avoids mistakes during assembly.
Installing The Remote Control System
Transforming a battery-operated toy into a remote-controlled one can be a fun project. Adding a remote control system involves some basic electronic components. This includes a receiver, transmitter, and a compatible battery setup.
Transforming a battery-operated toy into a remote-controlled marvel is a thrilling project. It’s not just about adding a remote; it’s about giving life to a toy in a way that intrigues both the young and the young at heart. The heart of this conversion lies in the installation of the remote control system, a process that demands precision but promises rewarding results. Ready to delve into the process? Let’s break it down.Wiring The Motors
Begin by identifying the toy’s motor connections. Access the motor compartment and take note of the positive and negative terminals. Use a soldering iron to attach wires to these terminals. Ensure the wires are long enough to reach the receiver while maintaining a tidy layout. Keep the wires away from any moving parts to avoid tangling. This step is crucial for motion control. Make sure the connections are secure to handle the motor’s power requirements.Connecting The Receiver
Locate a suitable spot inside the toy to install the receiver. It should be far from any metal parts to prevent interference. Connect the receiver to the motor wires using the manufacturer’s instructions as a guide. Each receiver might have specific wiring requirements, so check the manual carefully. Test the connection by powering the toy and using the remote to ensure the receiver is responding correctly. Adjust as needed to achieve smooth operation.Securing Components Inside The Toy
Once everything is connected, it’s time to secure the components. Use double-sided tape or a small amount of hot glue to hold the receiver and wires in place. Organize the wires neatly, bundling them if necessary, to prevent any interference with the toy’s moving parts. Consider how the toy will be used. Will it endure rough play? Ensure that all components are securely fastened to withstand vigorous activity. Are you feeling the thrill of the challenge? Installing a remote control system involves creativity and a bit of technical know-how. With patience and precision, you can breathe new life into your toy collection. Ready to try it out?
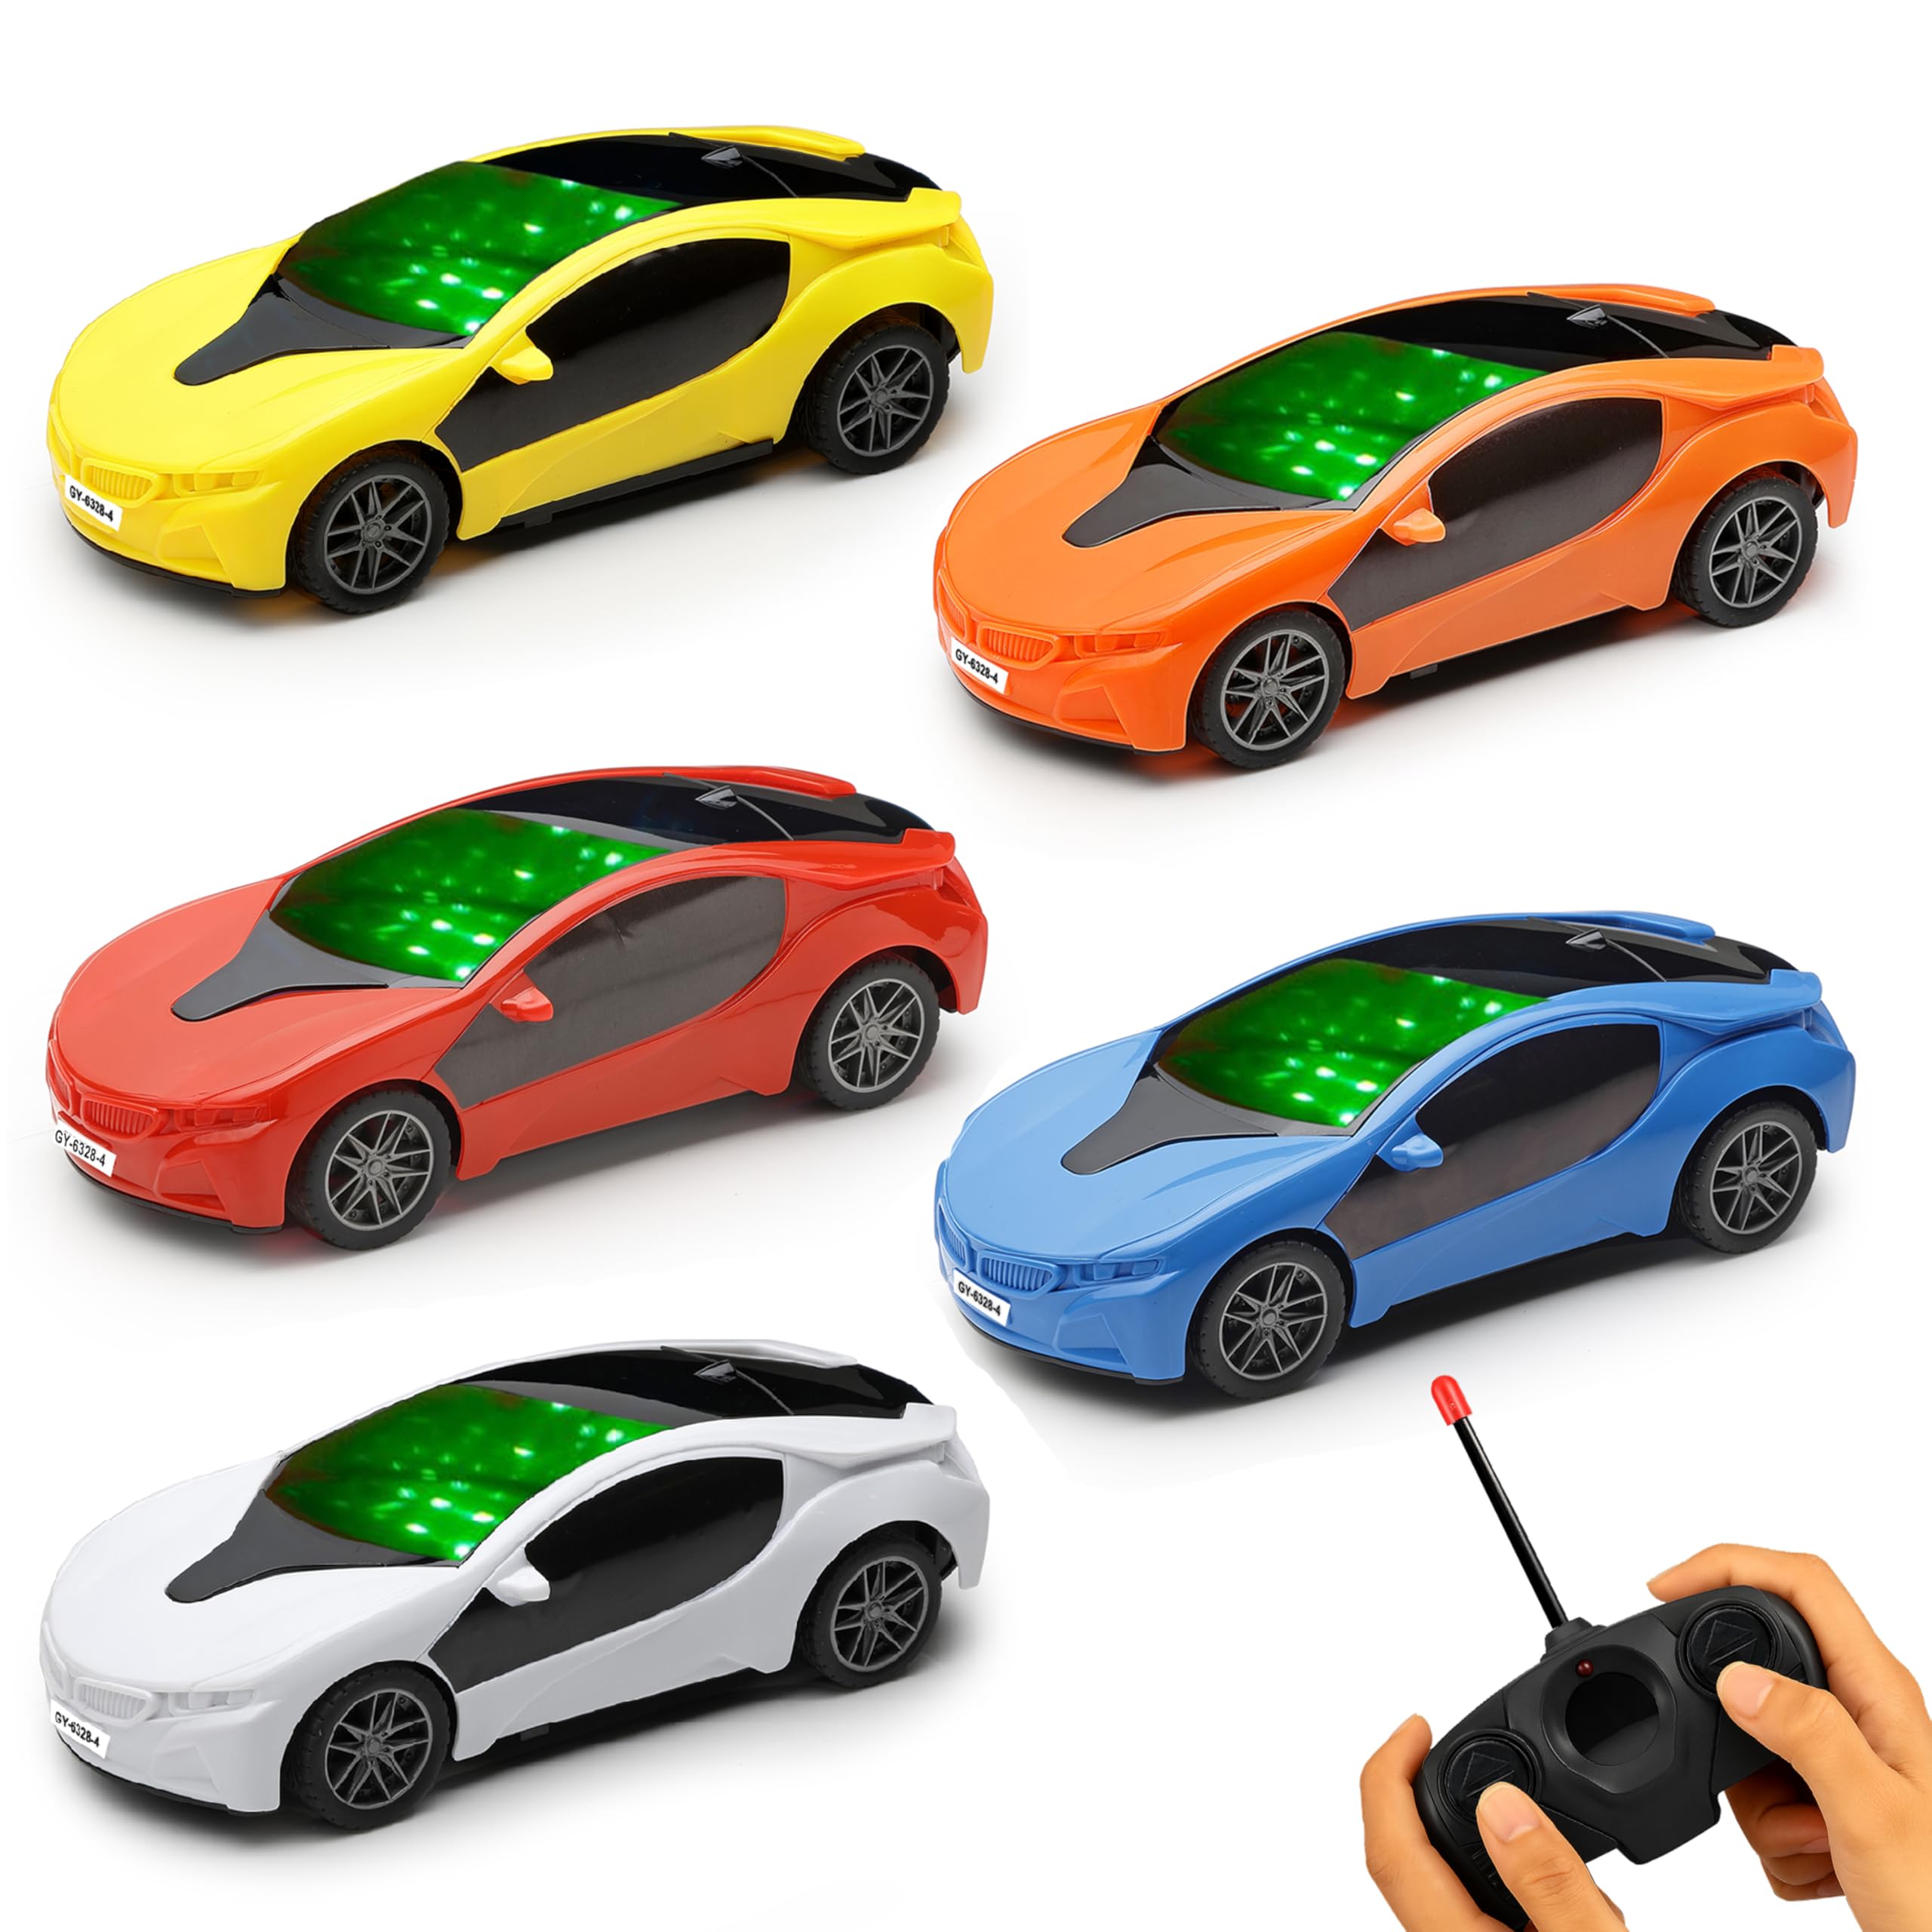
Credit: www.amazon.in
Power Management Tips
Managing power effectively is crucial when you convert a battery-operated toy into a remote-controlled one. Without proper power management, your toy might drain batteries quickly or even face performance issues. Let’s look at some practical tips that can help you keep your RC toy running longer and safer.
Choosing The Right Batteries
Picking the right type of batteries can make a huge difference in how well your remote-controlled toy performs. Alkaline batteries are common and cheap, but rechargeable NiMH batteries often provide better long-term value and steady power output. You might want to check the voltage requirements of your toy’s motor and remote to ensure compatibility.
Think about the balance between cost and convenience. Rechargeable batteries can save you money over time, but they need a charger and a bit more care. Have you ever noticed how some toys suddenly slow down or lose control? It’s usually because the batteries can’t keep up with the power demands.
Optimizing Battery Life
To get the most out of your batteries, consider these simple tricks. Always turn off the remote and toy when not in use to prevent unnecessary power drain. Also, avoid mixing old and new batteries or different brands, as this can cause uneven power distribution and shorten battery life.
Another tip is to keep spare batteries handy and rotate them regularly. This prevents the battery from sitting unused and losing charge over time. Have you tried using a multimeter to check battery voltage before installing them? It’s a quick way to avoid weak batteries ruining your playtime.
Safety Precautions
Working with batteries requires some safety awareness. Never force batteries into a compartment—they have to fit properly to avoid leaks or damage. If you see any signs of corrosion or leakage, replace the batteries immediately and clean the compartment carefully.
Also, avoid mixing rechargeable and disposable batteries in the same device, as this can cause overheating or other hazards. Store batteries in a cool, dry place and keep them out of reach of small children. Have you ever experienced a battery overheating or swelling? That’s a clear warning sign to stop using those batteries right away.
Testing And Troubleshooting
Testing and troubleshooting are key to making a battery-operated toy remote controlled. These steps help ensure the remote and toy work well together. Careful checks can reveal issues early, saving time and effort.
Testing involves turning on the toy and remote, checking signals, and watching responses. Troubleshooting fixes common problems, like weak signals or unresponsive controls. Fine-tuning improves control sensitivity and range.
Initial Power-on Checks
Start by inserting fresh batteries into the toy and remote. Make sure batteries fit correctly and have good contact. Turn on the remote first, then the toy. Watch for lights or sounds that show power is on.
- Check the battery polarity (+ and -) for both devices.
- Confirm the toy’s power switch is in the ON position.
- Test the remote buttons to see if LEDs light up.
- Observe any immediate response from the toy, like movement or sounds.
Common Issues And Fixes
Toy does not respond to the remote signals. This can happen due to low battery power or signal interference.
- Replace batteries with fresh ones to ensure full power.
- Remove obstacles between the remote and toy for better signal.
- Check the antenna on the remote or toy if present.
- Reset the toy by turning it off and on again.
- Make sure the remote and toy use the same frequency or pairing code.
Fine-tuning Controls
Adjust control sensitivity for smoother toy movements. This helps with precise steering or speed control.
- Test each button or joystick to check responsiveness.
- Modify the remote’s trim settings if available.
- Practice controlling the toy in an open area to avoid collisions.
- Adjust the distance between you and the toy to find the best range.
Enhancing Performance
Enhancing the performance of a battery operated toy remote controlled car can make playtime more exciting. Small changes can boost speed, control, and range. These upgrades help the toy perform better and last longer. Focus on key areas to improve your toy’s abilities.
Upgrading Motors
Replace the original motor with a stronger, more efficient one. Brushless motors offer better power and use less energy. This upgrade can increase speed and torque. Check the motor size to fit the toy’s design. A good motor improves battery life and overall performance.
Improving Signal Range
Extend the control distance by upgrading the antenna. Use a higher quality antenna for clearer signals. Choose components that match the remote and receiver frequency. This reduces signal loss and interference. A better signal range allows more freedom to move the toy farther.
Adding Custom Features
Enhance your toy with useful extras. Add LED lights for visual effects during play. Install a sound module for realistic noises. Consider adding speed controllers for smoother movement. Custom features make the toy more fun and unique. Tailor upgrades to how you want to enjoy the toy.
Frequently Asked Questions
Can Battery Operated Toys Be Converted To Remote Control?
Yes, many battery operated toys can be converted to remote control by adding a wireless receiver and motor controller. This requires basic electronics skills and compatible components. It allows control over movements without physical interaction, enhancing play experience.
What Components Are Needed For Remote Controlling Toys?
You need a remote control transmitter, a receiver, a motor driver, and a power source. Additional parts may include servos or motors, and wiring. These components work together to receive signals and control toy movements remotely.
Is It Difficult To Make A Toy Remote Controlled?
It depends on your electronics knowledge. Basic kits simplify the process with step-by-step instructions. Advanced customization requires understanding of circuits and programming. Beginners can start with simple kits to learn and gradually build skills.
Can I Use Any Battery Operated Toy For Remote Control Conversion?
Not all toys are suitable; toys with simple motorized parts work best. Complex toys may need extensive modifications. Assess the toy’s internal mechanism before attempting conversion to ensure compatibility with remote control components.
Conclusion
Yes, you can turn a battery-operated toy into a remote-controlled one. It takes some tools, parts, and patience to do this. The process helps you learn about electronics and mechanics. You get to enjoy a toy that moves on its own.
It also saves money compared to buying a new remote toy. Just follow clear steps and be careful with wiring. This DIY project can be fun and rewarding for kids and adults. Give it a try and see how your toy comes to life!