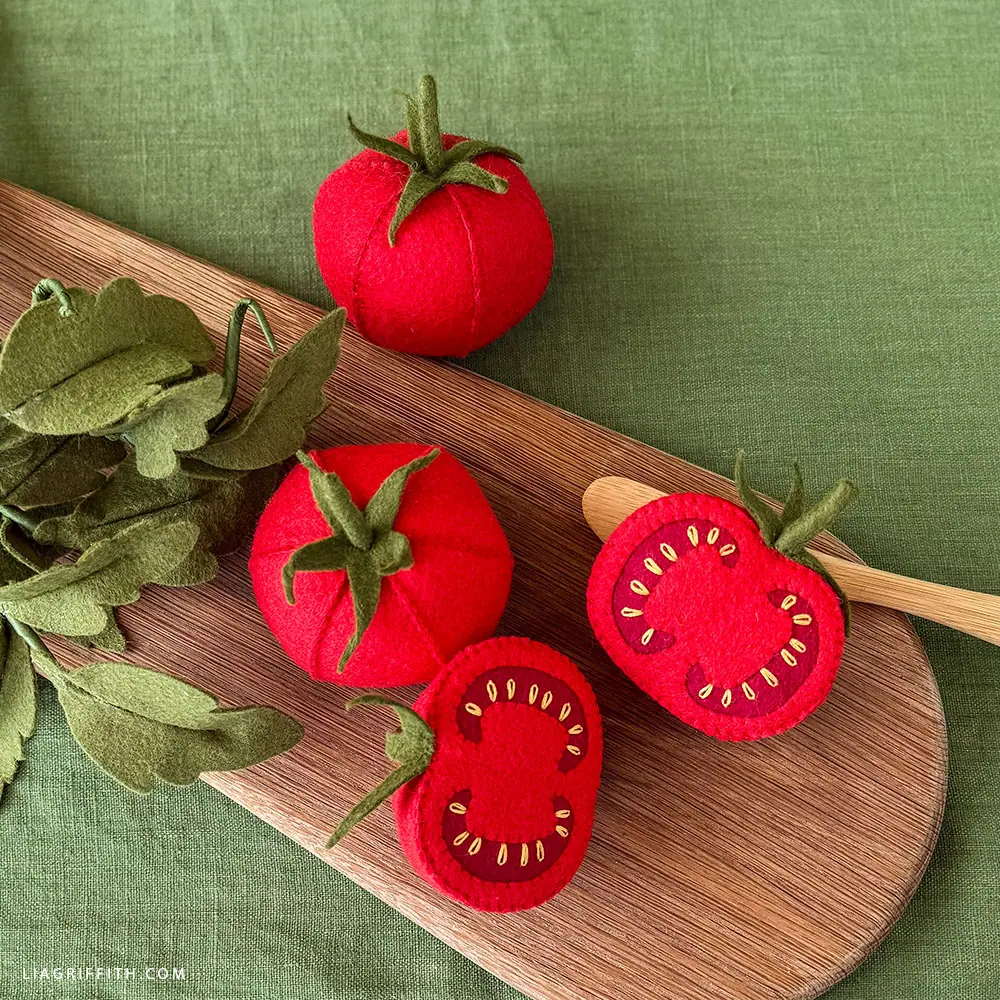
Are you ready to create something fun, colorful, and truly unique with your own hands? Making DIY felt toys is easier than you think, and it’s a great way to bring your imagination to life.
Whether you want to craft a special gift or a charming decoration, felt toys let you design exactly what you picture. In this guide, you’ll discover simple steps and tips that make the process smooth and enjoyable. By the end, you’ll have the skills to create cute, soft toys that anyone will love.
Let’s dive in and start turning your ideas into playful felt creations!
Choosing Felt Materials
Choosing the right felt materials can make a big difference in how your DIY felt toys turn out. The texture, color, and quality of felt affect both the look and durability of your finished project. Before you start cutting and sewing, it’s important to understand what types of felt are available and what tools you’ll need to work with them effectively.
Types Of Felt
Not all felt is created equal. You’ll find two main types: wool felt and synthetic felt.
- Wool feltis dense, soft, and holds its shape well. It’s perfect for toys that need a sturdy feel and a natural look.
- Synthetic felt, usually made from polyester or acrylic, is cheaper and comes in brighter colors. It’s easier to cut but can fray more easily.
Think about your toy’s purpose. Should it be durable for rough play, or soft and cuddly? This choice will guide your felt selection.
Selecting Colors
Color choice can bring your toy to life or make it look dull. Choose colors that match the character or theme you want to create.
- Bright, bold colors work well for playful, eye-catching toys.
- Muted or pastel shades suit more subtle, calming designs.
- Consider mixing different colors to add depth and interest.
Have you ever noticed how a pop of unexpected color can make a simple toy unforgettable? Don’t shy away from experimenting with color combinations.
Essential Tools
Having the right tools makes working with felt easier and more enjoyable.
- Sharp scissorsare a must for clean, precise cuts.
- Needles and threadin matching colors help with neat stitching.
- Fabric gluecan be a quick fix for attaching small pieces without sewing.
- Pins or clipshold felt layers together while you work.
When I first started, I underestimated the power of sharp scissors. A dull pair made cutting edges messy and frustrating. Investing in quality tools pays off immediately.
Basic Felt Toy Patterns
Basic felt toy patterns are the foundation for creating charming and personalized toys. Starting with simple designs helps you gain confidence and improve your stitching skills. These patterns also allow plenty of room for creativity, letting you add your unique touch.
Simple Shapes
Begin with basic shapes like circles, squares, triangles, and hearts. These forms are easy to cut and sew, making them perfect for beginners. You can turn a circle into a cheerful sun or a heart into a sweet keychain.
Simple shapes also give you a chance to practice neat stitching and stuffing evenly. Have you tried making a felt ball? It’s a fun way to master round shapes and experiment with color combinations.
Animal Designs
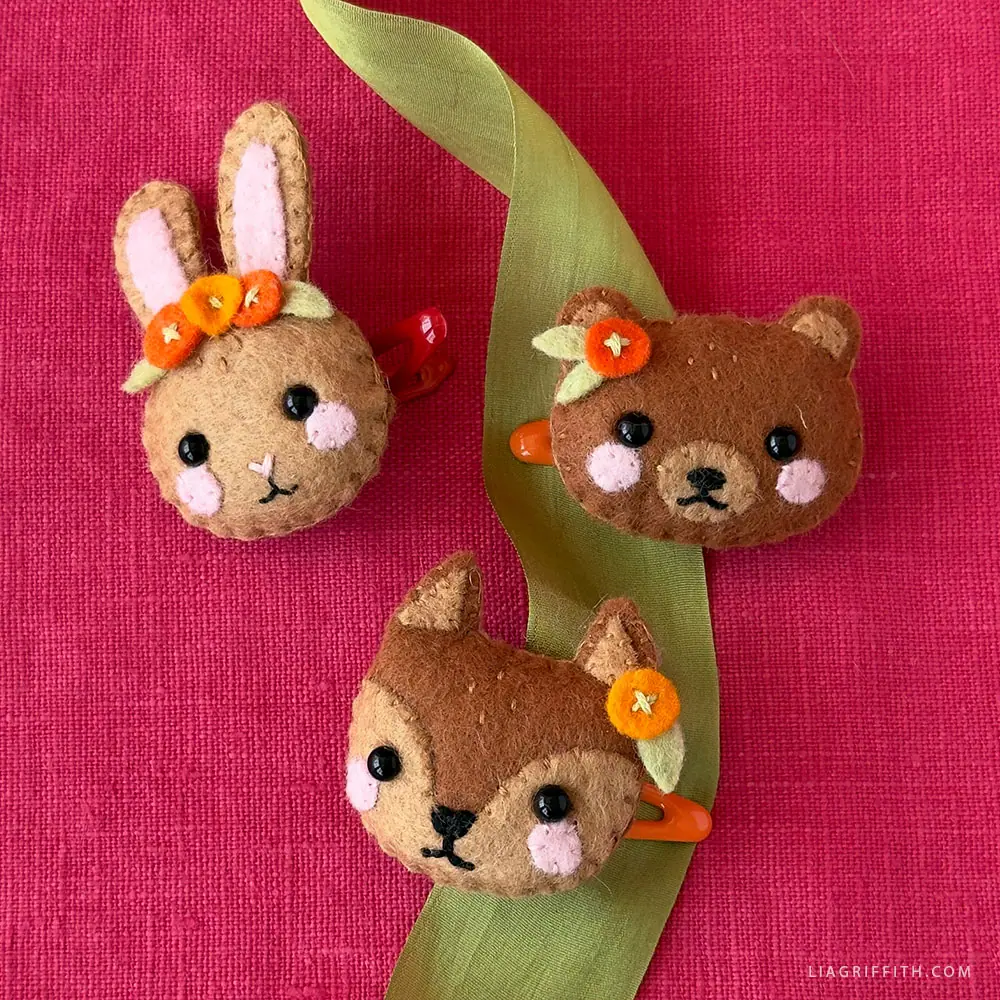
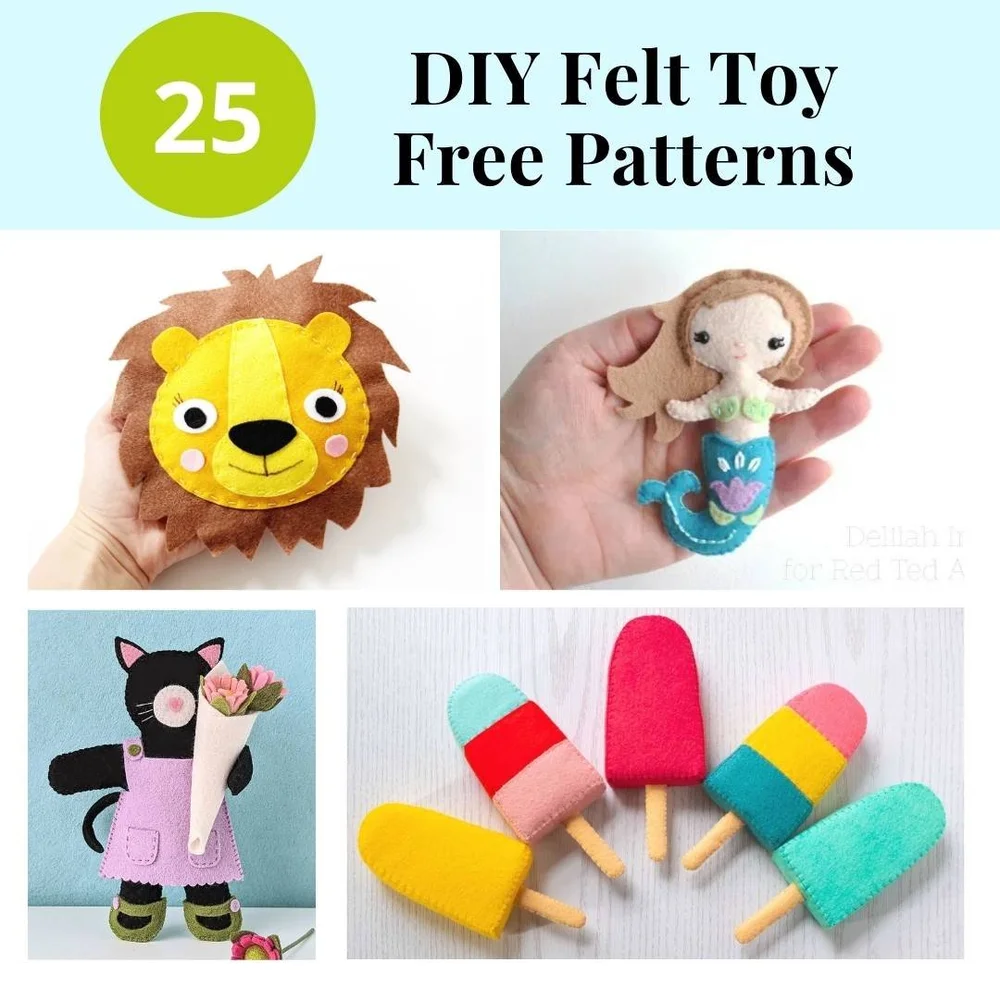
Animal patterns bring your felt toys to life with personality. Start with easy animals like cats, fish, or birds. These designs often use simple shapes combined to create recognizable features.
Think about adding small details like embroidered eyes or felt wings. These touches make your toy more interesting and fun to craft. What’s your favorite animal that you’d love to see as a felt toy?
Character Ideas
Creating characters lets you add stories and emotions to your toys. Use simple patterns to craft faces, hair, and outfits. You can make dolls, superheroes, or fantasy creatures with just a few felt pieces.
Try customizing your character’s expression using thread and fabric paint. This step can transform a plain toy into a beloved companion. How would you design a felt toy that reflects your own personality?
Cutting And Sewing Techniques
Cutting felt carefully ensures clean edges for your toy shapes. Sewing with small, even stitches holds pieces firmly and looks neat. Using simple hand stitches makes crafting felt toys easier and more fun.
Cutting and sewing felt toys can be a delightful craft. Felt is easy to cut and sew, making it ideal for DIY projects. This section will cover essential cutting and sewing techniques. We’ll explore hand stitching, using a sewing machine, and attaching small details. Each technique offers unique benefits for creating charming felt toys.Hand Stitching Basics
Hand stitching is perfect for small, detailed work. Use a sharp needle and strong thread. Start with simple stitches like the running stitch. Practice makes perfect. Small, even stitches will give a neat finish. Secure the thread with a knot at the end. This ensures durability.Using A Sewing Machine
A sewing machine speeds up the process. Choose a machine with a zigzag stitch option. This stitch works well for felt. Use a medium-sized needle for best results. Adjust the tension for even stitching. Practice on scrap felt first. It helps to get the settings right.Attaching Small Details
Small details add character to your felt toys. Use fabric glue for tiny parts. It holds well and dries clear. For buttons and beads, hand sew them in place. Use a double thread for strength. Position details carefully before attaching. They should enhance the toy’s appearance.
Credit: www.pandelzafeltcraft.com
Adding Stuffing And Finishing
Adding stuffing and finishing your DIY felt toys is where your creation starts to come alive. The right stuffing gives your toy shape and cuddly texture, while careful finishing ensures durability and charm. Paying attention to these details transforms a simple felt cutout into a cherished keepsake.
Choosing Stuffing Materials
Your choice of stuffing affects how soft or firm your toy feels. Common options include polyester fiberfill, cotton batting, or even scrap fabric pieces. Polyester fiberfill is lightweight and fluffy, making it ideal for most felt toys.
If you want an eco-friendly option, consider using wool or recycled fabric scraps. Think about the toy’s purpose—will it be a child’s cuddly friend or a decorative piece? That can guide you to select the best stuffing material.
Filling Toys Evenly
Filling your toy evenly is key to a professional look. Start by adding small amounts of stuffing into the narrow parts like arms or legs, using a pencil or chopstick to push it in gently. This prevents lumps and ensures every corner is filled.
Next, gradually fill the larger body sections, checking the firmness as you go. Ask yourself if the toy feels balanced or if some areas are too soft or overstuffed. Adjust the stuffing carefully until you get a smooth and consistent feel throughout.
Sealing And Final Touches
Once your toy is stuffed, close the opening with neat stitches to keep the filling secure. Use a ladder stitch or whip stitch for an invisible seam that won’t unravel easily. Take your time here—tight, even stitches make a huge difference.
After sealing, add any final touches like embroidered eyes or decorative accents. These small details give your toy personality and make it unique. What little extras can you add to make your toy stand out?
Creative Decoration Ideas
Creative decoration ideas bring your DIY felt toys to life. They add charm and personality to simple shapes. Small details make toys unique and special. Experiment with different techniques to find your favorite style.
Embroidery Accents
Embroidery adds texture and color to felt toys. Use simple stitches like running stitch, backstitch, or satin stitch. Create eyes, smiles, or patterns with thread. Choose contrasting thread colors for a bold look. Embroidery also strengthens parts of the toy.
Adding Buttons And Beads
Buttons and beads give toys a playful touch. Sew small buttons as eyes or decoration. Use beads to add sparkle or detail. Choose sizes that fit well with the toy’s scale. Secure them tightly to keep toys safe for children.
Using Fabric Paint
Fabric paint allows endless creative options. Draw faces, patterns, or dots with fine brushes. Use stencils for consistent shapes or letters. Let paint dry completely before handling toys. This method adds color without bulk or stitches.
Safety Tips For Kids’ Toys
Creating DIY felt toys can be a rewarding experience, especially when you know your kids are safe playing with what you’ve made. Safety is key, and it starts before the first stitch. Thinking about the materials and design choices will help you avoid hazards and make toys that last.
Non-toxic Materials
Always choose materials labeled as non-toxic. This includes felt, stuffing, and any dyes or paints you plan to use. Kids often put toys in their mouths, so it’s crucial that these materials won’t cause harm if ingested or touched.
Natural fibers like cotton felt are a great option. They’re less likely to irritate sensitive skin. Also, check for certifications or safety standards on your supplies to ensure they’re kid-friendly.
Avoiding Small Parts
Small parts can be choking hazards, especially for younger children. Skip buttons, beads, or tiny embellishments that might come loose. Instead, use embroidery or securely sewn pieces to add features like eyes or noses.
Think about the age of the child who will play with the toy. If you’re unsure, make the toy as simple and solid as possible. This reduces the risk of anything breaking off and getting swallowed.
Durability Checks
Once your felt toy is finished, put it through a durability test. Tug on seams and parts to make sure everything is firmly attached. Loose threads or weak stitches can lead to pieces falling off during play.
Consider double stitching critical areas for extra strength. If a toy can’t withstand rough handling, it isn’t safe. You want your creation to survive many play sessions without coming apart.
Inspiring Project Ideas
Making DIY felt toys opens up a world of creativity. You can tailor every piece to suit your style and purpose. Let’s look at some inspiring project ideas that can spark your imagination and help you create toys that are not just fun but meaningful.
Holiday Themes
Holiday-themed felt toys bring festive cheer to your home. Think about crafting felt pumpkins for Halloween or tiny felt stockings for Christmas. These toys double as decorations and gifts, making the season more special.
Try making felt ornaments shaped like snowmen or reindeer. Adding small details like sequins or buttons can make them stand out. Have you thought about creating a felt advent calendar with little pockets to hold surprises?
Personalized Gifts
Personalized felt toys show you care. You can stitch names, initials, or special dates onto the toys to add a unique touch. Imagine giving a felt doll that looks like your friend or a felt keychain with your child’s name.
Start simple with small felt animals or hearts, then add custom details. These gifts become keepsakes that tell a story. What personal message would you like your toy to carry?
Educational Toys
Felt toys can be powerful learning tools. Create alphabet letters, numbers, or shape puzzles to make learning hands-on and fun. Felt’s soft texture makes these toys safe and appealing for little hands.
Consider making a felt board where kids can stick and rearrange shapes or characters. It’s a great way to encourage creativity and problem-solving. What skill do you want your felt toy to help develop?
Credit: liagriffith.com
Credit: www.funclothcrafts.com
Frequently Asked Questions
What Materials Are Needed To Make Diy Felt Toys?
To make DIY felt toys, you need felt sheets, scissors, needles, thread, stuffing, and fabric glue. Optional items include buttons and embroidery floss for decoration. These materials are inexpensive and easy to find at craft stores or online.
How Do I Sew Felt Toys Without A Sewing Machine?
You can hand-sew felt toys using a needle and thread with simple stitches like the running stitch or whip stitch. Hand sewing allows precise control and is perfect for small or detailed toy parts.
What Are Easy Diy Felt Toy Patterns For Beginners?
Simple shapes like hearts, stars, animals, or fruits are great beginner patterns. These require minimal cutting and stitching skills. Look for free printable templates online to help guide your first projects.
How Can I Safely Stuff Diy Felt Toys?
Use polyester fiberfill stuffing for softness and safety. Avoid small beads or beans if toys are for young children. Make sure to securely sew the opening closed after stuffing to prevent leaks.
Conclusion
Making DIY felt toys can be fun and rewarding. You only need simple materials and a little patience. Each toy you create shows your care and creativity. These toys make great gifts or decorations. Practice helps improve your skills over time.
Enjoy the process and try new designs. Crafting felt toys brings joy to both kids and adults. Start small, and watch your ideas come to life. Keep crafting and sharing your handmade felt toys with others.


