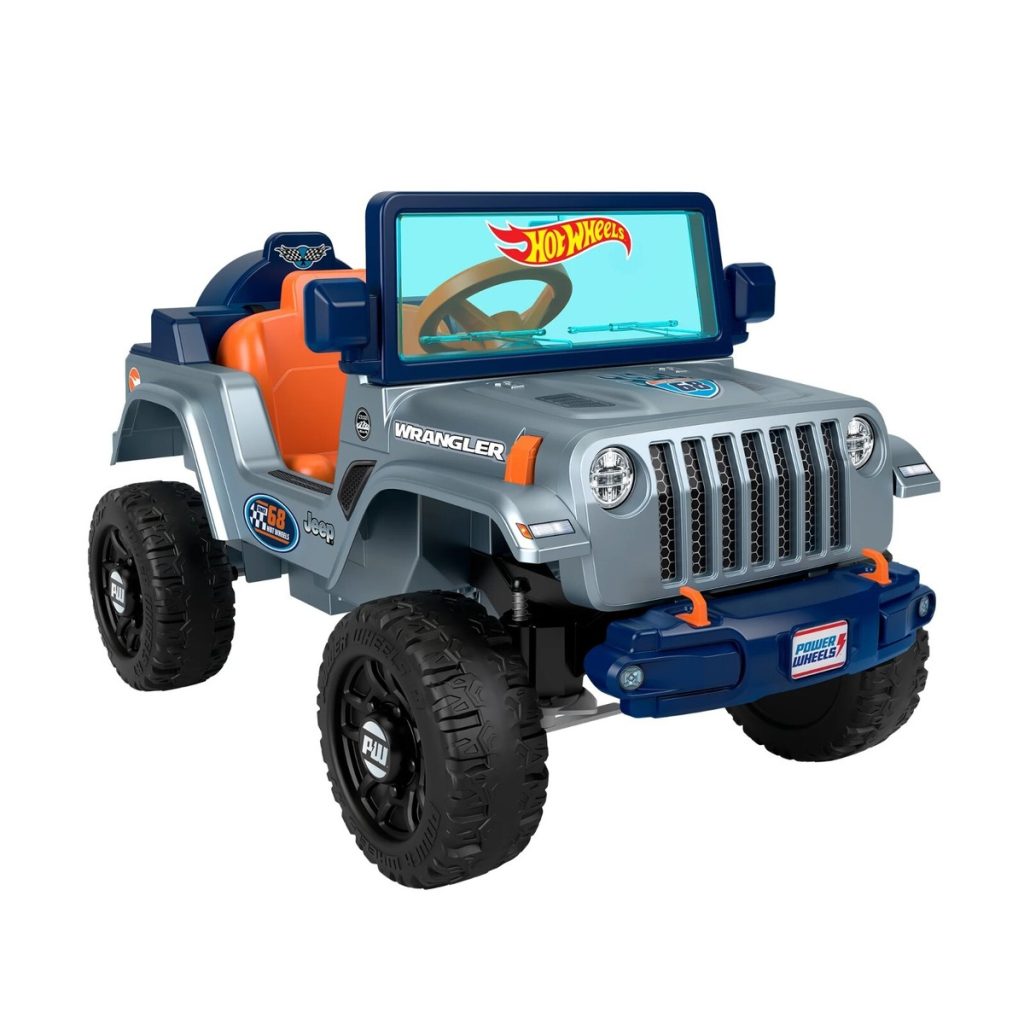
Have you ever wanted to build your own electric toy car that you can control from a distance? Imagine the excitement of driving a car you made yourself, right from the comfort of your home.
This guide will show you step-by-step how to create a remote-controlled electric toy car, even if you’re new to electronics or building projects. By the end, you’ll have a fun, working toy that you can proudly show off to your friends and family.
Ready to start? Let’s dive in and make your dream car come to life!

Credit: www.youtube.com
Materials Needed
Before you dive into building your electric toy car with remote control, gathering the right materials is key. Having everything at hand makes the process smoother and more enjoyable. Let’s break down exactly what you’ll need to get started.
Basic Components
- Electric motor:The heart of your toy car, responsible for movement.
- Remote control system:Includes the transmitter and receiver to control your car wirelessly.
- Battery pack:Powers the motor and electronics, usually rechargeable for convenience.
- Chassis or frame:The base structure that holds all parts together.
- Wheels and axles:Essential for the car’s movement and stability.
- Wiring and connectors:Connect electrical components safely and efficiently.
Choosing the right motor and battery can make a big difference in your car’s speed and run time. Have you thought about how fast or how long you want your car to operate?
Tools Required
- Screwdrivers:Both Phillips and flathead for assembling parts.
- Soldering iron:For connecting wires securely; a must-have for reliable circuits.
- Wire cutters/strippers:To trim and prepare wires without damaging them.
- Hot glue gun:Helps to fix components firmly without screws.
- Multimeter:Useful to check electrical connections and troubleshoot issues.
Having these tools ready before you begin saves frustration later. Do you have access to these tools, or will you need to borrow or buy some?
Optional Accessories
- LED lights:Add cool effects or indicators on your toy car.
- Speed controller:Lets you adjust how fast the motor runs for better control.
- Decorative stickers or paint:Personalize your car’s look to make it truly yours.
- Shock absorbers:Improve handling if you plan to race on rough surfaces.
Think about whether you want your car to look flashy or perform better. Adding a speed controller changed my experience completely—suddenly, I wasn’t just controlling my car; I was mastering it. What extra features would excite you the most?

Credit: www.youtube.com
Preparing The Car Body
Preparing the car body is a crucial part of building an electric toy car with remote control. The body holds all parts together and affects the car’s performance. A sturdy and well-built frame ensures smooth driving and durability. Focus on choosing the right materials and assembling parts carefully.
Choosing The Frame
Select a frame that is light but strong. Plastic and lightweight wood are good choices. The frame should fit the motor, battery, and wheels easily. Look for a shape that is simple to cut and assemble. Avoid heavy materials that slow the car down.
Assembling The Base
Start by cutting the frame pieces to size. Use a ruler and pencil for accuracy. Join the parts with glue or small screws. Make sure the base is flat and stable. Check that the frame does not wobble or bend. Let the glue dry fully before moving on.
Mounting Wheels
Attach the wheels to the base using axles or rods. The wheels should spin freely without rubbing against the frame. Use washers or spacers to keep the wheels aligned. Test each wheel to ensure it turns smoothly. Secure the wheels firmly to avoid loosening during use.
Installing The Motor
Installing the motor is a key step in building an electric toy car with remote control. The motor powers the wheels and controls the car’s movement. Proper installation ensures smooth performance and durability. Let’s explore how to select, connect, and secure the motor effectively.
Selecting The Right Motor
Choose a motor with the right size and power for your toy car. Small DC motors work well for lightweight cars. Check the voltage and current ratings to match your battery and control system. A motor with too much power may drain the battery quickly. Too little power will make the car slow or unable to move.
Connecting Motor To Wheels
Attach the motor shaft to the wheels using gears or a direct coupling. Gears help increase torque or speed depending on their size. Ensure the connection is tight to avoid slipping. Use a small gear on the motor and a larger gear on the wheels for more torque. Test the rotation before final assembly to confirm smooth movement.
Securing The Motor
Fix the motor firmly inside the toy car frame to prevent wobbling. Use screws or brackets designed for the motor size. Avoid over-tightening, which can damage the motor casing. Add rubber pads or foam to reduce vibrations. A steady motor improves performance and extends the motor’s life.
Setting Up The Remote Control
Connect the remote control to the car’s receiver carefully. Test the buttons to ensure proper signal and smooth movement. Adjust the antenna for better range and control.
Setting up the remote control for your electric toy car is an exciting phase. This part brings your creation to life, allowing you to steer it with ease. Follow these key steps to ensure your remote control system works flawlessly.Choosing A Remote Control System
Select a remote control system that fits your toy car’s size and power needs. A basic two-channel system works well for simple movements. Ensure the system includes both a transmitter and a receiver. Check compatibility with your car’s battery and motor. Opt for a system with a clear manual for easy setup.Wiring The Receiver
Connect the receiver to the car’s motor and battery. Begin by identifying the receiver’s power input. Attach the motor wires to the appropriate receiver channels. Secure connections with electrical tape to prevent disconnections. Double-check each connection for safety and functionality.Testing Signal Range
Test the signal range to ensure the remote works from a distance. Place the car on a flat surface and power it on. Walk away while holding the remote and observe the car’s response. Ensure the car reacts promptly to your commands. Adjust the antenna if the range is limited.Wiring The Electrical System
Wiring the electrical system is a key part of building an electric toy car with remote control. It connects all the main components to work together smoothly. Careful wiring ensures the car runs well and responds to the remote commands.
Connecting Battery And Motor
Start by linking the battery to the motor. Use wires that match the battery’s voltage and current. Connect the positive wire from the battery to the motor’s positive terminal. Then, connect the negative wire to the motor’s negative terminal.
Make sure connections are tight and secure. Loose wires cause poor performance or stops. Use a soldering iron or strong clips to hold wires in place. Avoid crossing wires to prevent shorts.
Integrating The Receiver
The receiver gets signals from the remote control. Connect it to both the battery and motor. Attach the receiver’s power input to the battery’s output. Then link the receiver’s motor control wires to the motor terminals.
Check the receiver’s manual for exact wire colors and positions. Correct wiring lets the receiver control the motor speed and direction. Test the connection by turning on the remote and moving controls.
Ensuring Safety And Insulation
Protect all wiring to avoid shorts and damage. Wrap exposed wires with electrical tape or heat shrink tubing. Use cable ties to keep wires neat and away from moving parts.
Double-check all connections before powering the car. Confirm no bare wires touch each other or metal parts. Proper insulation keeps the system safe and reliable during use.
Final Assembly And Testing
The final assembly and testing phase is where your electric toy car comes to life. This step requires careful attention to detail to ensure every part works together smoothly. Taking your time here can save you from frustration later.
Securing All Components
Start by firmly attaching all electronic parts, such as the motor, battery, and receiver, inside the car’s chassis. Use screws, double-sided tape, or zip ties to keep everything in place. Loose components can cause connection issues or damage during movement.
Pay special attention to the wires. Arrange them neatly and secure them so they don’t get caught in the wheels or gears. A tidy layout improves both safety and performance.
Initial Power-on Test
Once everything is secured, it’s time to power on your car for the first time. Switch on the battery and use the remote control to check if the motor responds. If the wheels start moving smoothly, you’re on the right track.
Listen closely for any unusual sounds like grinding or sparking. These noises often indicate mechanical or wiring problems that need fixing before you proceed. How does your car respond when you try different speeds or directions?
Troubleshooting Common Issues
If the car doesn’t move or responds erratically, start by checking the battery charge and remote control batteries. Weak power sources are a common culprit. Next, inspect all wire connections for any loose or disconnected parts.
Sometimes, the motor may jam due to debris or misaligned gears. Carefully rotate the wheels by hand to feel for resistance. If the problem persists, swapping out the motor or testing the remote on another device can help identify the faulty component.
Have you noticed any patterns in the issues? Pinpointing the exact problem can save you hours of trial and error. Don’t hesitate to revisit earlier steps if something doesn’t feel right.
Customizing Your Toy Car
Customizing your electric toy car is where the fun really begins. It transforms a simple project into a unique creation that reflects your personality and creativity. Whether you want your car to stand out visually or perform better on the track, there are plenty of ways to make it truly yours.
Painting And Decoration
Choosing the right colors can change the whole vibe of your toy car. Use spray paint or acrylics for a smooth finish, and don’t forget to apply a clear coat to protect your design. Adding decals or stickers can make your car look professional without much effort.
Try mixing colors or creating patterns like stripes or flames to add personality. Have you thought about customizing the wheels or the body panels separately? Sometimes small details make the biggest impact.
Adding Lights And Sounds
Installing LED lights can make your car eye-catching, especially in low light. You can add headlights, tail lights, or underglow strips powered by small batteries. Soldering tiny wires might seem tricky, but it’s easier than you think and adds a cool effect.
Sound modules are another exciting upgrade. Adding engine sounds or horn effects can make the driving experience more immersive. What sounds would make your toy car feel alive?
Upgrading Performance
Improving your toy car’s speed or handling can be very satisfying. Swap out the standard motor for a more powerful one to boost speed. Upgrading the battery to a rechargeable lithium-ion pack can extend playtime significantly.
Don’t overlook the tires—choosing better grip tires can improve control, especially on smooth surfaces. Adjusting the suspension or adding shock absorbers might sound advanced, but simple tweaks can make a noticeable difference. How fast do you want your custom ride to go?

Credit: www.youtube.com
Frequently Asked Questions
What Materials Are Needed For An Electric Toy Car?
You need a small electric motor, remote control kit, battery pack, wheels, chassis, wires, and basic tools. These components help build a functional remote-controlled electric toy car efficiently.
How Do I Connect The Remote Control To The Car?
Connect the remote control receiver to the motor and battery using wires. Ensure proper soldering and secure connections for smooth signal transmission and car movement.
What Type Of Battery Is Best For Toy Cars?
Rechargeable lithium-ion or NiMH batteries are best. They provide consistent power, longer life, and are lightweight, ensuring better performance and longer playtime for your electric toy car.
Can Beginners Build An Electric Toy Car Easily?
Yes, beginners can build one with basic electronics knowledge. Following step-by-step guides and safety precautions makes the process simple and enjoyable for new hobbyists.
Conclusion
Building an electric toy car with remote control is fun and rewarding. You learn how simple parts work together. This project improves your skills step by step. It also encourages creativity and problem-solving. Keep trying if something does not work.
Each attempt brings you closer to success. Enjoy the process and share your car with friends. Small projects like this spark curiosity and joy. Start today and discover how much you can create.